SKU: OT812-C62 Artikelnummer: AA321 EAN: 8720589817081

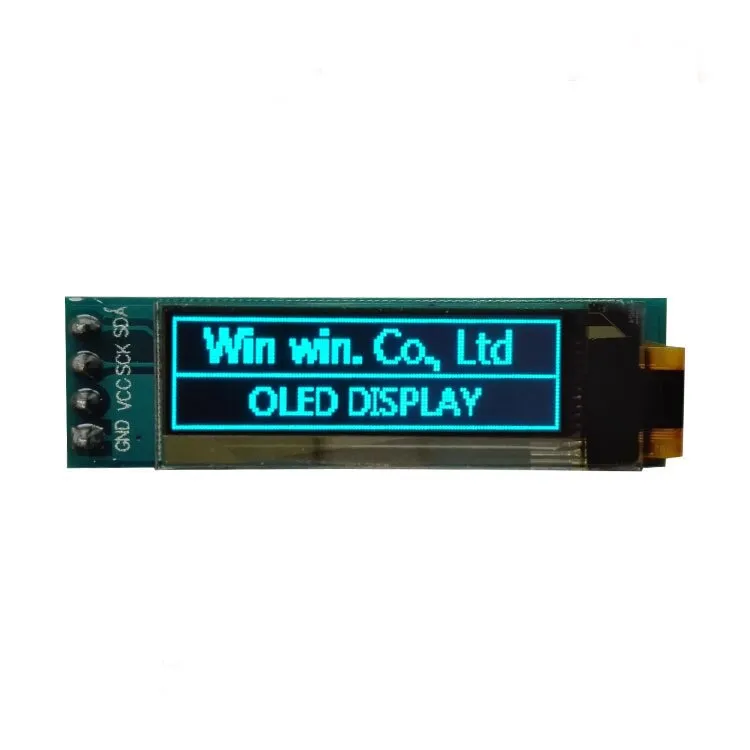
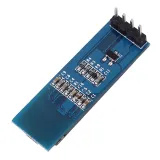
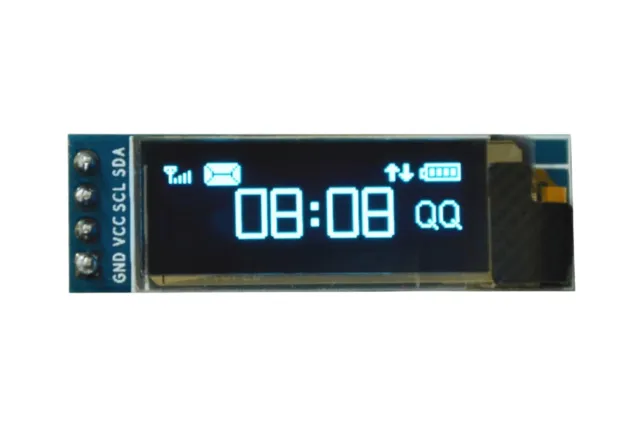
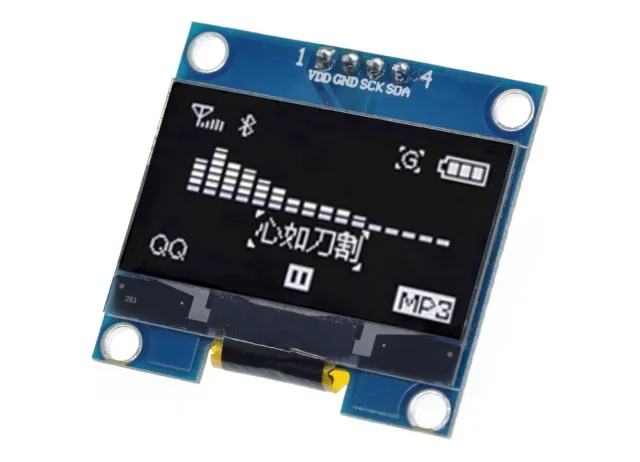
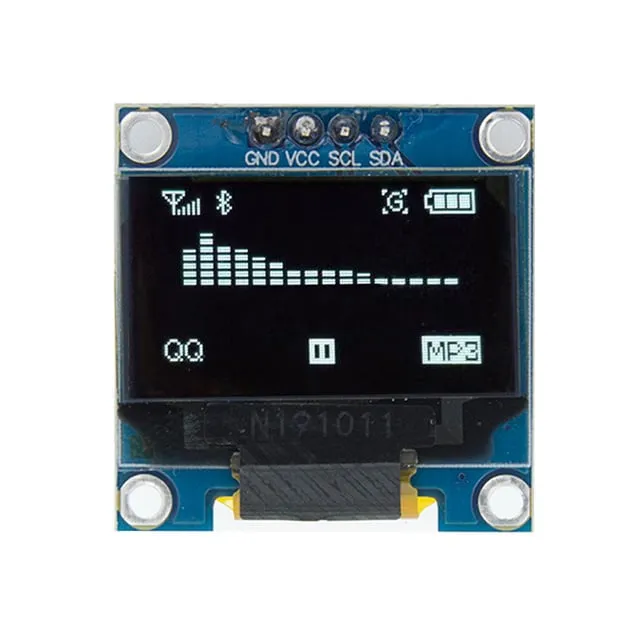
0,91 tum mini OLED-skärm. Knivskarpt bild med en upplösning på 128x32 pixlar.
Fungerar på en strömkälla på 3v-5v. Perfekt för Arduino- eller ESP32 / ESP8266-projekt.
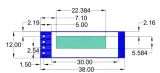
Måtten på detta kort är endast 38 x 12 x 3,3mm.
Mått
Längd: 3,8cm
Bredd: 1,2cm
Höjd: 0,33cm
Så här kopplar du Mini OLED-display blå 0.91 tum 128x32 I2C till en Arduino UNO eller ESP32, med ett exempelsketch som du kan ladda upp direkt.
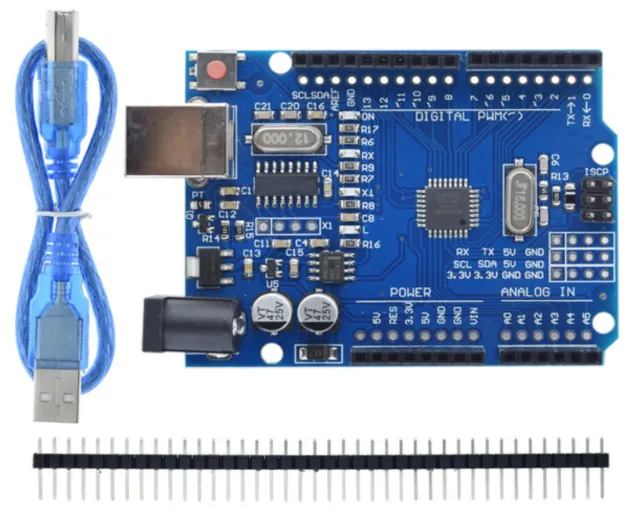
This project demonstrates how to connect and display text and an active counter on a 0.91-inch (128x32) I2C OLED screen. The display connects directly to the Arduino Uno I2C pins (A4 for SDA, A5 for SCL). Once powered on, the display shows a title banner and updates a running seconds counter.
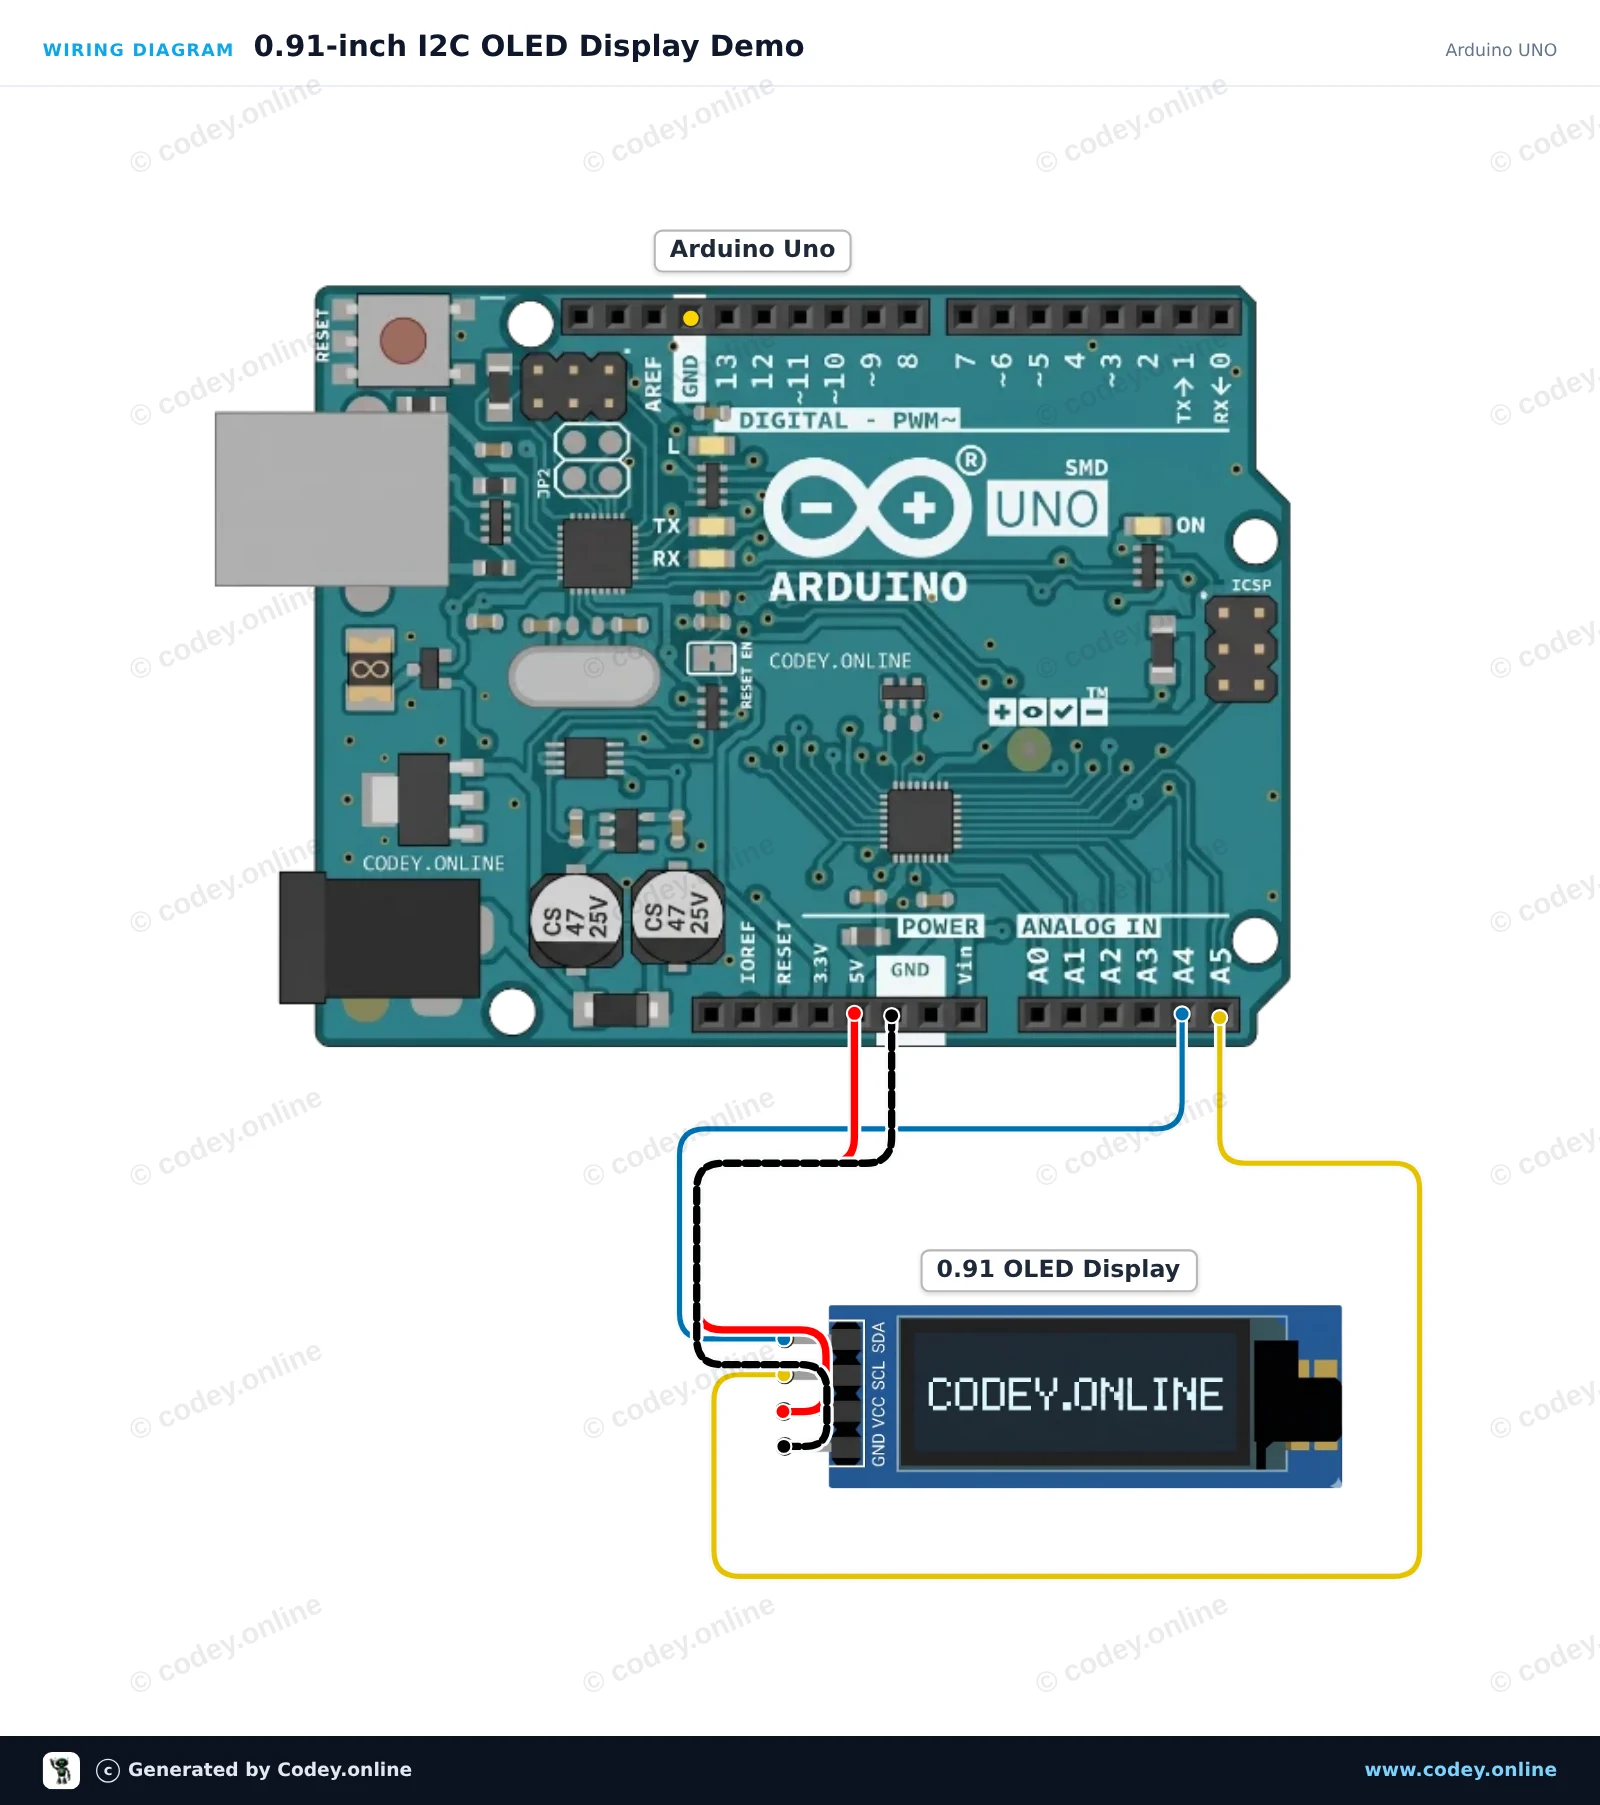
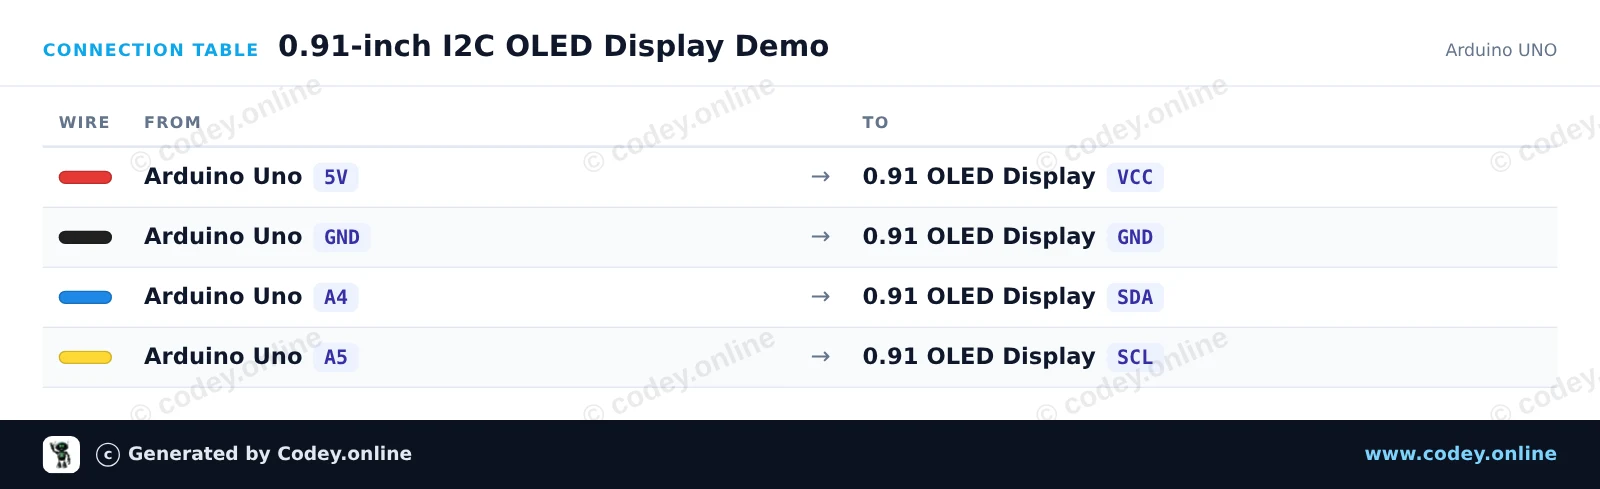
/*
 * ==================================================================
 *  Generated by Codey.online  —  https://www.codey.online
 * ==================================================================
 *  Project   : 0.91-inch I2C OLED Display Demo
 *  Board     : Arduino UNO (arduino:avr:uno)
 *  Parts     : OLED Display 0.91 inch
 *  Libraries : U8g2 2.36.19
 *
 *  Codey Online is an AI-powered browser IDE for Arduino and ESP32.
 *  Describe your project and Codey writes the code, draws the wiring
 *  diagram and uploads it to your board, straight from the browser.
 *  This code is free to use, modify and share, without warranty.
 * ==================================================================
 */

#include <Wire.h>
#include <U8g2lib.h>

// 0.91" OLED display is a 128x32 SSD1306 I2C module
U8G2_SSD1306_128X32_UNIVISION_F_HW_I2C u8g2(U8G2_R0, /* reset=*/ U8X8_PIN_NONE);

unsigned long seconds = 0;

void setup() {
  Wire.begin();
  u8g2.begin();
}

void loop() {
  u8g2.clearBuffer();

  // Header text
  u8g2.setFont(u8g2_font_6x10_tr);
  u8g2.drawStr(0, 10, "0.91\" OLED Demo");

  // Separator line
  u8g2.drawHLine(0, 14, 128);

  // Uptime counter
  u8g2.drawStr(0, 28, "Uptime: ");
  u8g2.setCursor(50, 28);
  u8g2.print(seconds);
  u8g2.print(" s");

  u8g2.sendBuffer();

  seconds++;
  delay(1000);
}Nödvändiga bibliotek: U8g2 2.36.19
Wiring diagram and example code generated by Codey.online — https://www.codey.online
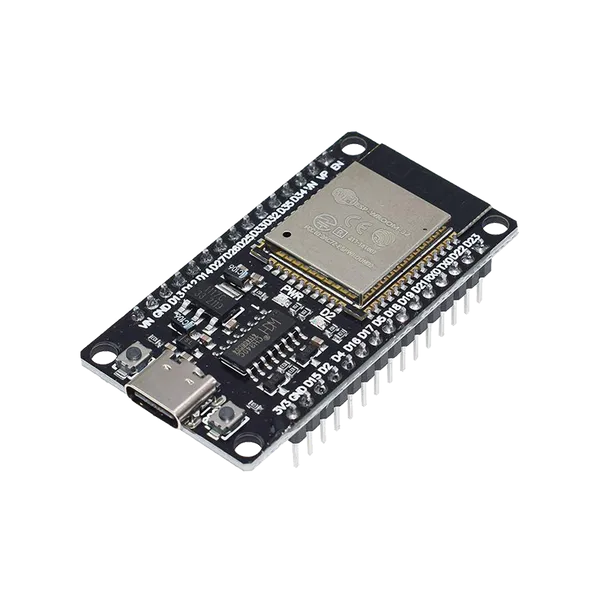
This example connects a 0.91-inch 128x32 I2C OLED display to the ESP32. The sketch initializes the display and shows a welcome message along with an updating runtime counter. Connect the display to the ESP32's default I2C pins (GPIO 21 for SDA and GPIO 22 for SCL) powered by 3.3V.
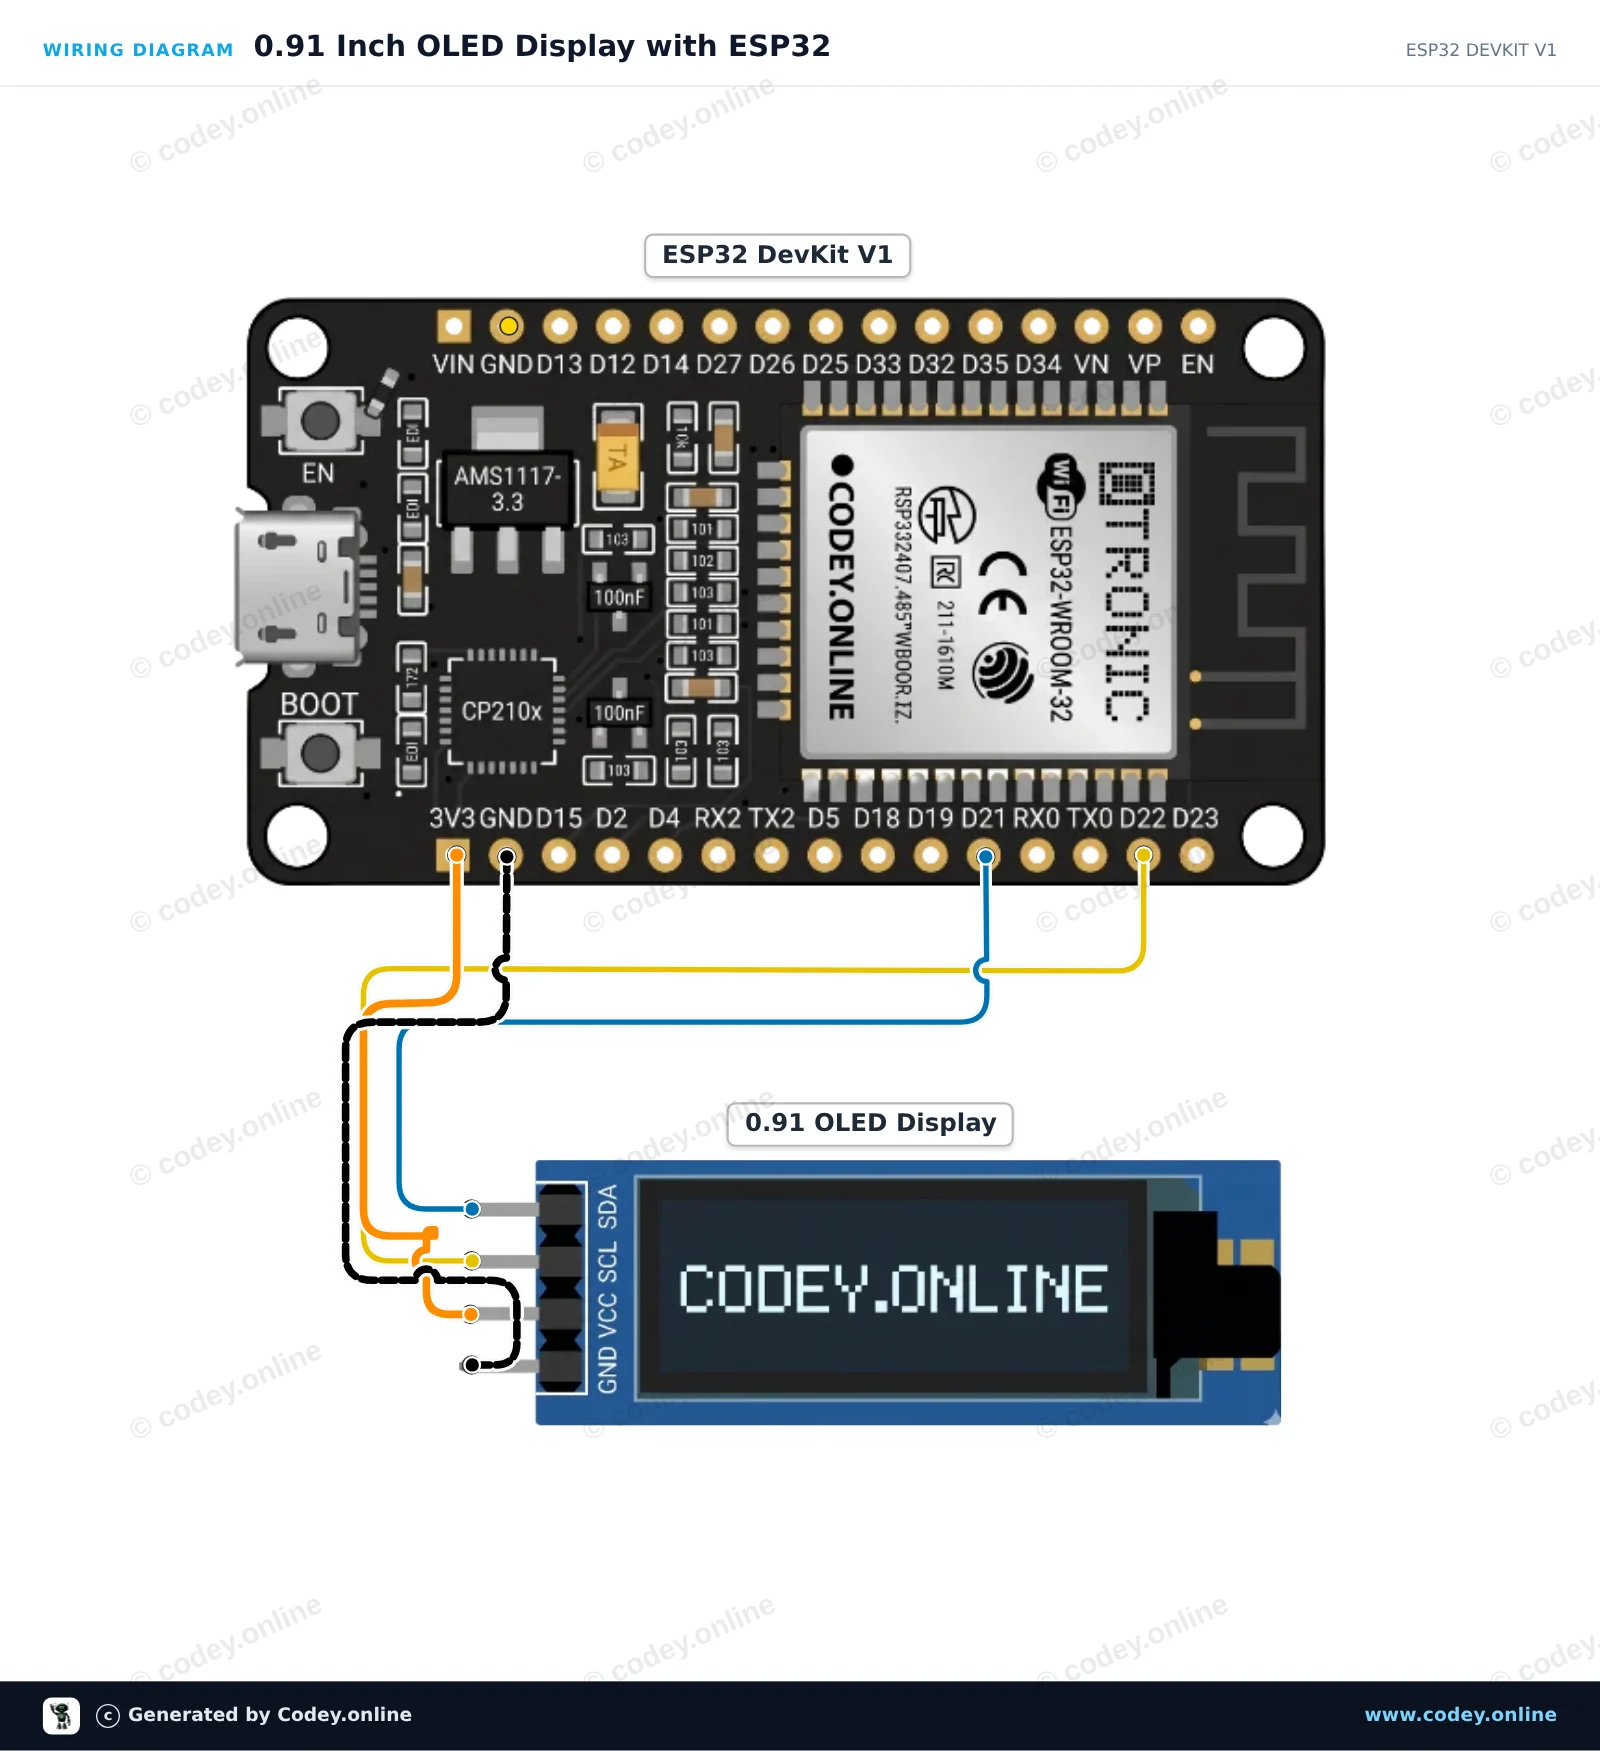
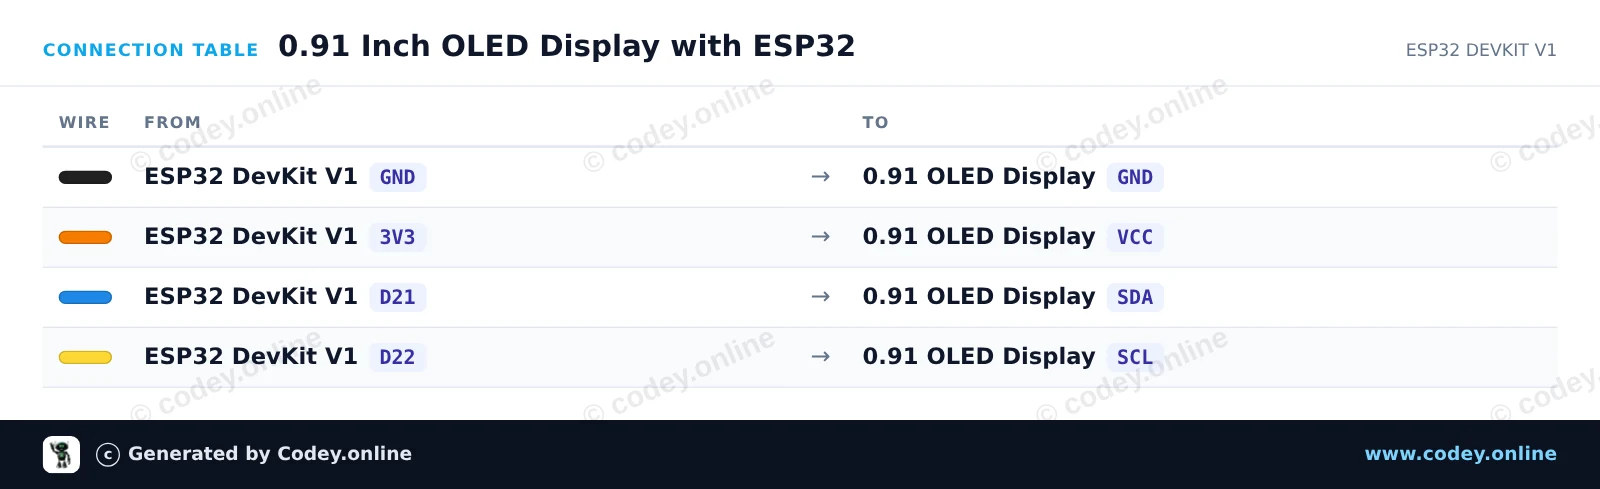
/*
 * ==================================================================
 *  Generated by Codey.online  —  https://www.codey.online
 * ==================================================================
 *  Project   : 0.91 Inch OLED Display with ESP32
 *  Board     : ESP32 DEVKIT V1 (esp32:esp32:esp32doit-devkit-v1)
 *  Parts     : OLED Display 0.91 inch
 *  Libraries : Adafruit SSD1306 2.5.16, Adafruit GFX Library 1.12.6
 *
 *  Codey Online is an AI-powered browser IDE for Arduino and ESP32.
 *  Describe your project and Codey writes the code, draws the wiring
 *  diagram and uploads it to your board, straight from the browser.
 *  This code is free to use, modify and share, without warranty.
 * ==================================================================
 */

#include <Wire.h>
#include <Adafruit_GFX.h>
#include <Adafruit_SSD1306.h>

#define SCREEN_WIDTH 128
#define SCREEN_HEIGHT 32
#define OLED_RESET -1
#define SCREEN_ADDRESS 0x3C

Adafruit_SSD1306 display(SCREEN_WIDTH, SCREEN_HEIGHT, &Wire, OLED_RESET);

int counter = 0;

void setup() {
  Serial.begin(115200);

  // Initialize I2C on ESP32 default pins (SDA=21, SCL=22)
  Wire.begin(21, 22);

  if (!display.begin(SSD1306_SWITCHCAPVCC, SCREEN_ADDRESS)) {
    Serial.println(F("SSD1306 allocation failed"));
    for (;;); // Halt if OLED not found
  }

  display.clearDisplay();
  display.setTextSize(1);
  display.setTextColor(SSD1306_WHITE);
  display.setCursor(0, 0);
  display.println(F("ESP32 OLED Demo"));
  display.display();
  delay(1500);
}

void loop() {
  display.clearDisplay();

  display.setTextSize(1);
  display.setTextColor(SSD1306_WHITE);
  display.setCursor(0, 0);
  display.println(F("ESP32 DevKit V1"));

  display.setTextSize(2);
  display.setCursor(0, 14);
  display.print(F("Count: "));
  display.println(counter);

  display.display();

  Serial.print(F("Current count: "));
  Serial.println(counter);

  counter++;
  delay(1000);
}Nödvändiga bibliotek: Adafruit SSD1306 2.5.16, Adafruit GFX Library 1.12.6
Wiring diagram and example code generated by Codey.online — https://www.codey.online





 English
  Nederlands
  Frans
Frans  Deutsch
  Italiano
  Español
  Suomi
Suomi  Polski
  Dansk
Dansk  Ελληνικά
  Български
  Čeština
  Hrvatski
  Aileen