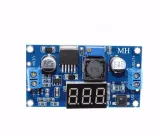
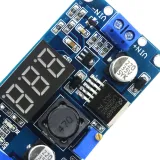
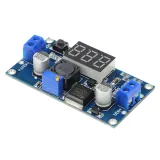
SKU: OT3593 Artikelnummer: NA068 EAN: 8720618489616

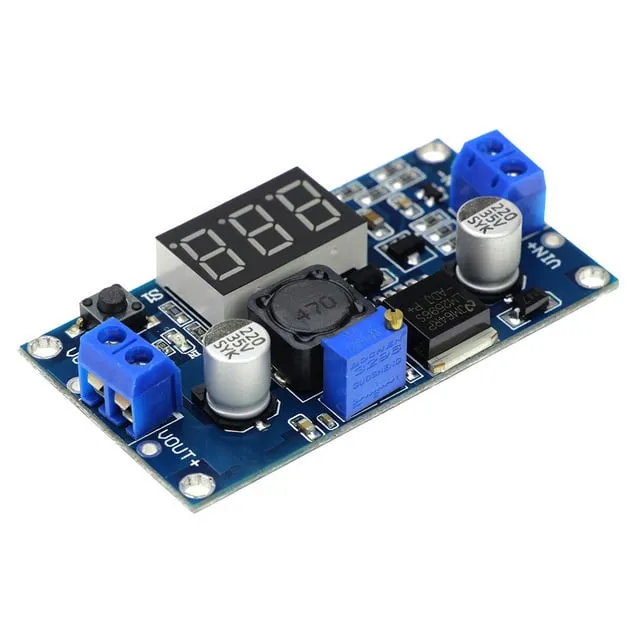
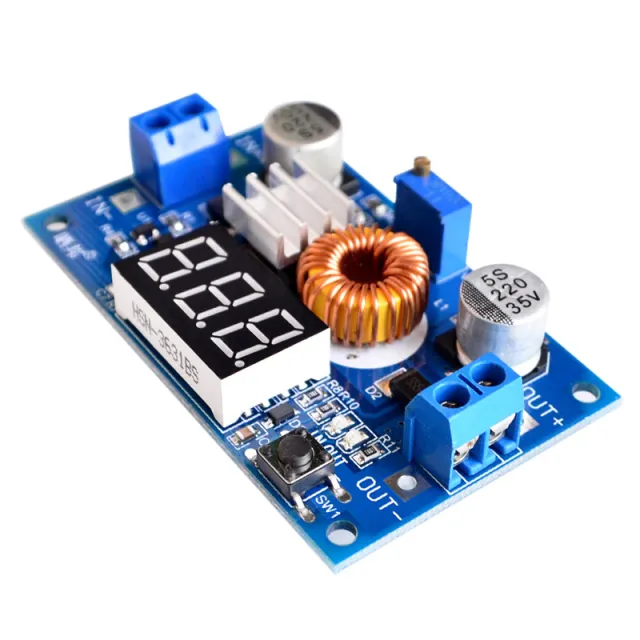
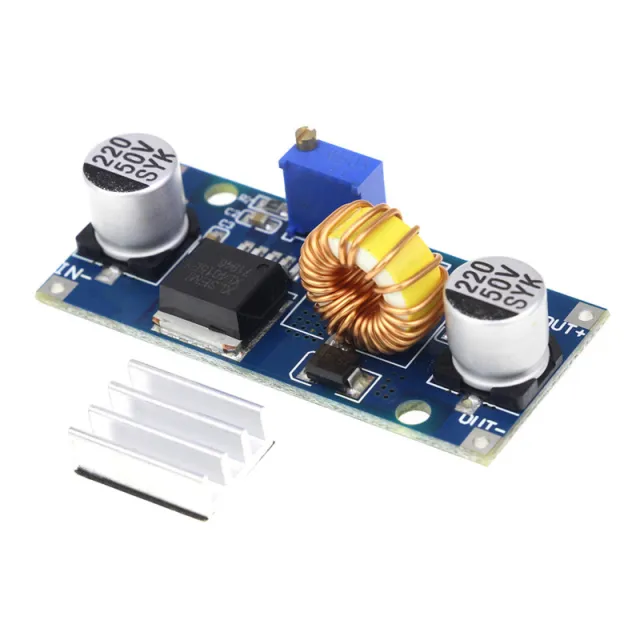
Ingångsspänning 4,0 ~ 40V. (Ingångsspänningen måste vara högre än utgångsspänningen med 1,5 V eller mer)
Justerbart utgångsspänningsområde 1,25V ~ 37V steglöst justerbart. (Ingångsspänningen måste vara högre än utgångsspänningen med 1,5V)
Utgångsström 3A, rekommenderad användning inom 2.0A, hög ström behövs för att förbättra värmeavledningen.
Utgångseffekt 20W, 15W, förbättra värmeavledningen.
Hög omvandlingseffektivitet, i genomsnitt 88% (effektiviteten är relaterad till in- och utgångsspänning, ström och tryck)
Med skydd mot omvänd polaritet
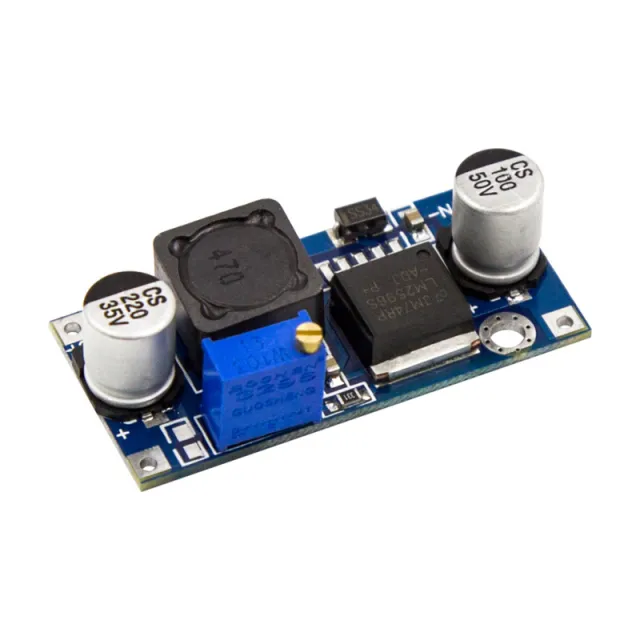
Mått 6.1 * 3.4 * 12 cm (L * B * H)
Dimensioner
Längd: 6,5cm
Bredd: 3,5cm
Höjd: 1,2cm
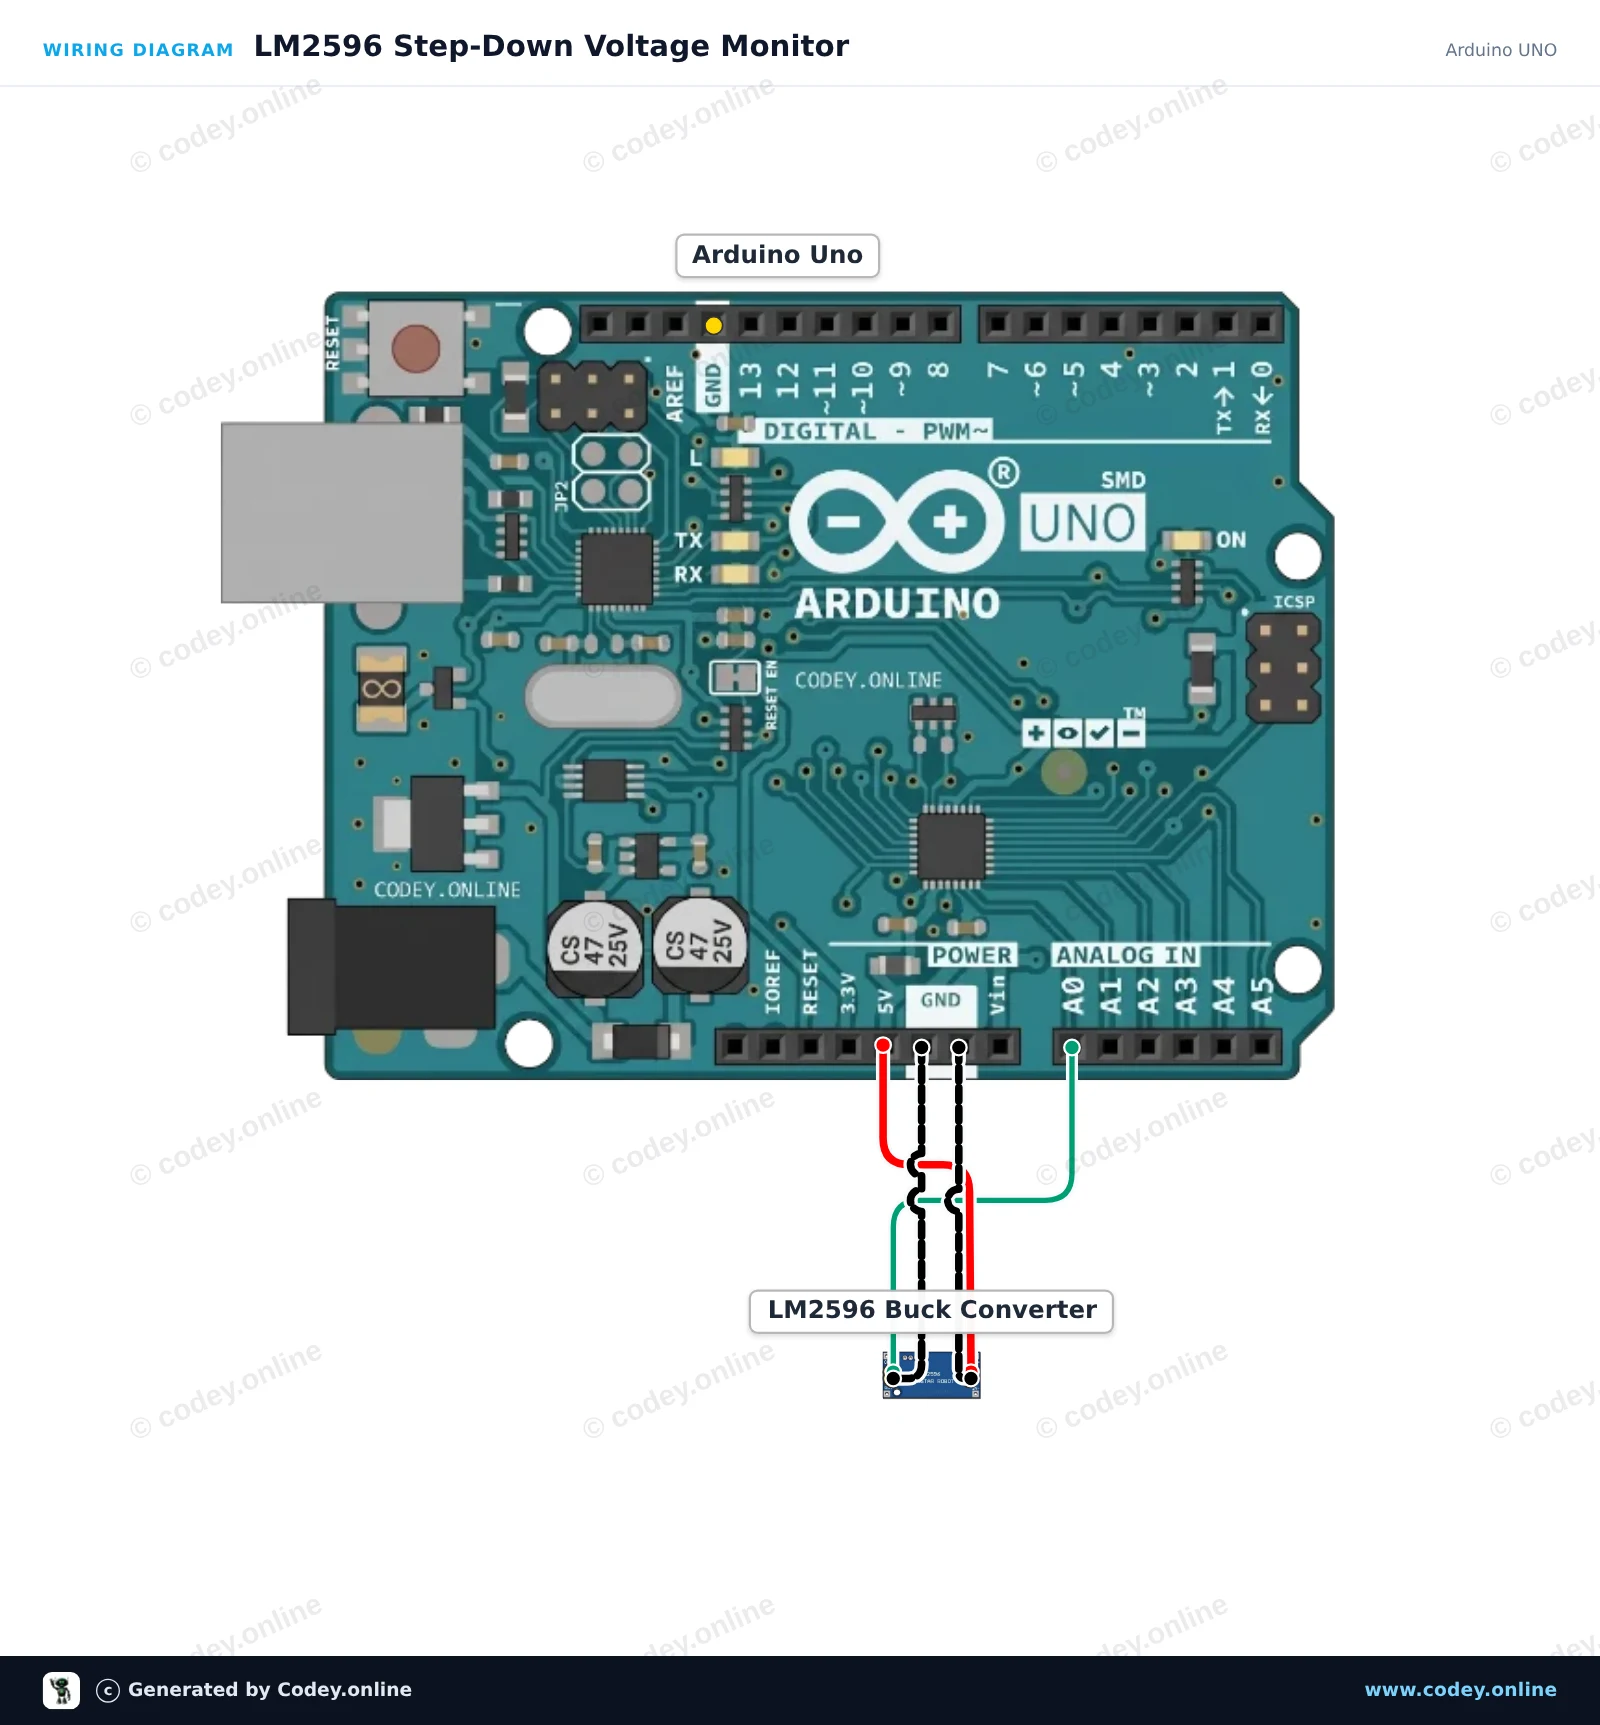
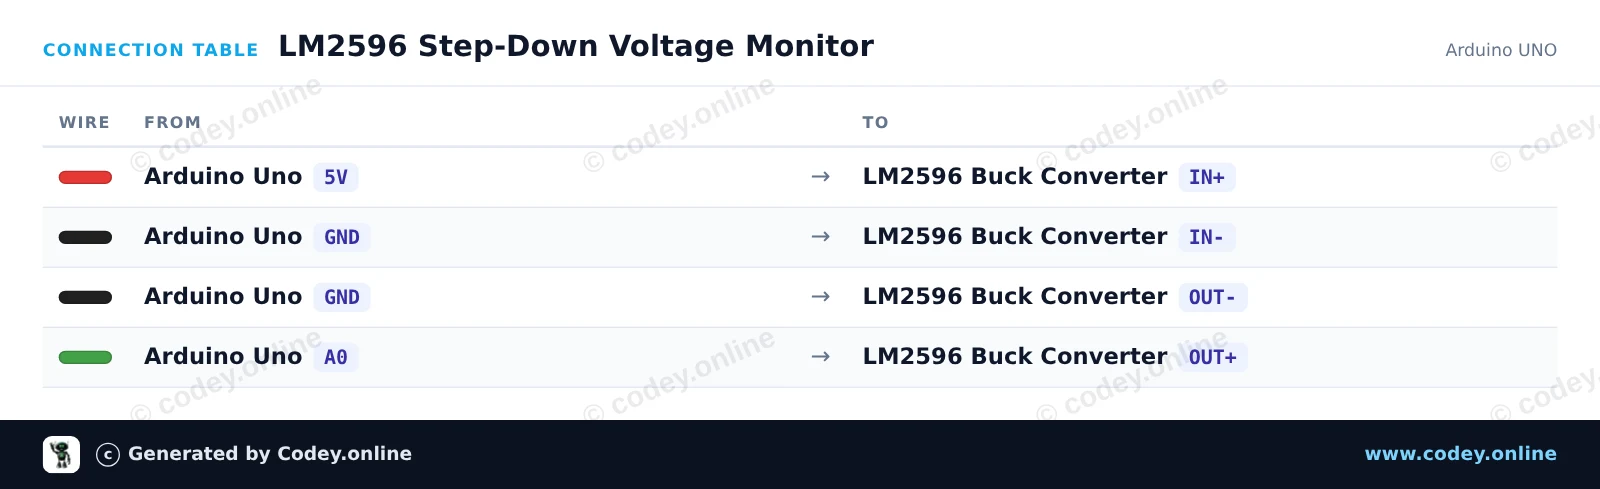
Så här kopplar du LM2596S Justerbar Step-Down 4-40V -> 1.25-37V med inbyggd voltmeterdisplay till en Arduino UNO eller ESP32, med ett exempelsketch som du kan ladda upp direkt.
This project measures the output voltage of an LM2596 buck converter module using the Arduino's analog input pin A0. Power the module's input from the Arduino 5V rail (or external power up to 40V) and turn the onboard potentiometer to watch the measured output voltage change in the Serial Monitor.
/*
 * ==================================================================
 *  Generated by Codey.online  —  https://www.codey.online
 * ==================================================================
 *  Project   : LM2596 Step-Down Voltage Monitor
 *  Board     : Arduino UNO (arduino:avr:uno)
 *  Parts     : Adjustable Step-down Module 3-40VDC 1.5-35VDC LM2596
 *  Libraries : none (built-in)
 *
 *  Codey Online is an AI-powered browser IDE for Arduino and ESP32.
 *  Describe your project and Codey writes the code, draws the wiring
 *  diagram and uploads it to your board, straight from the browser.
 *  This code is free to use, modify and share, without warranty.
 * ==================================================================
 */

const int voltagePin = A0;

void setup() {
  Serial.begin(115200);
  while (!Serial) {
    ; // Wait for serial port to connect
  }
  Serial.println(F("LM2596 Step-Down Module Monitor"));
  Serial.println(F("Turn the onboard brass potentiometer to adjust output voltage."));
  Serial.println(F("-----------------------------------------------------------"));
}

void loop() {
  // Read the analog voltage (0 to 1023 corresponds to 0V to 5V)
  int rawValue = analogRead(voltagePin);
  float voltage = (rawValue * 5.0) / 1023.0;

  Serial.print(F("Raw ADC: "));
  Serial.print(rawValue);
  Serial.print(F(" | Output Voltage: "));
  Serial.print(voltage, 2);
  Serial.println(F(" V"));

  delay(500);
}Wiring diagram and example code generated by Codey.online — https://www.codey.online
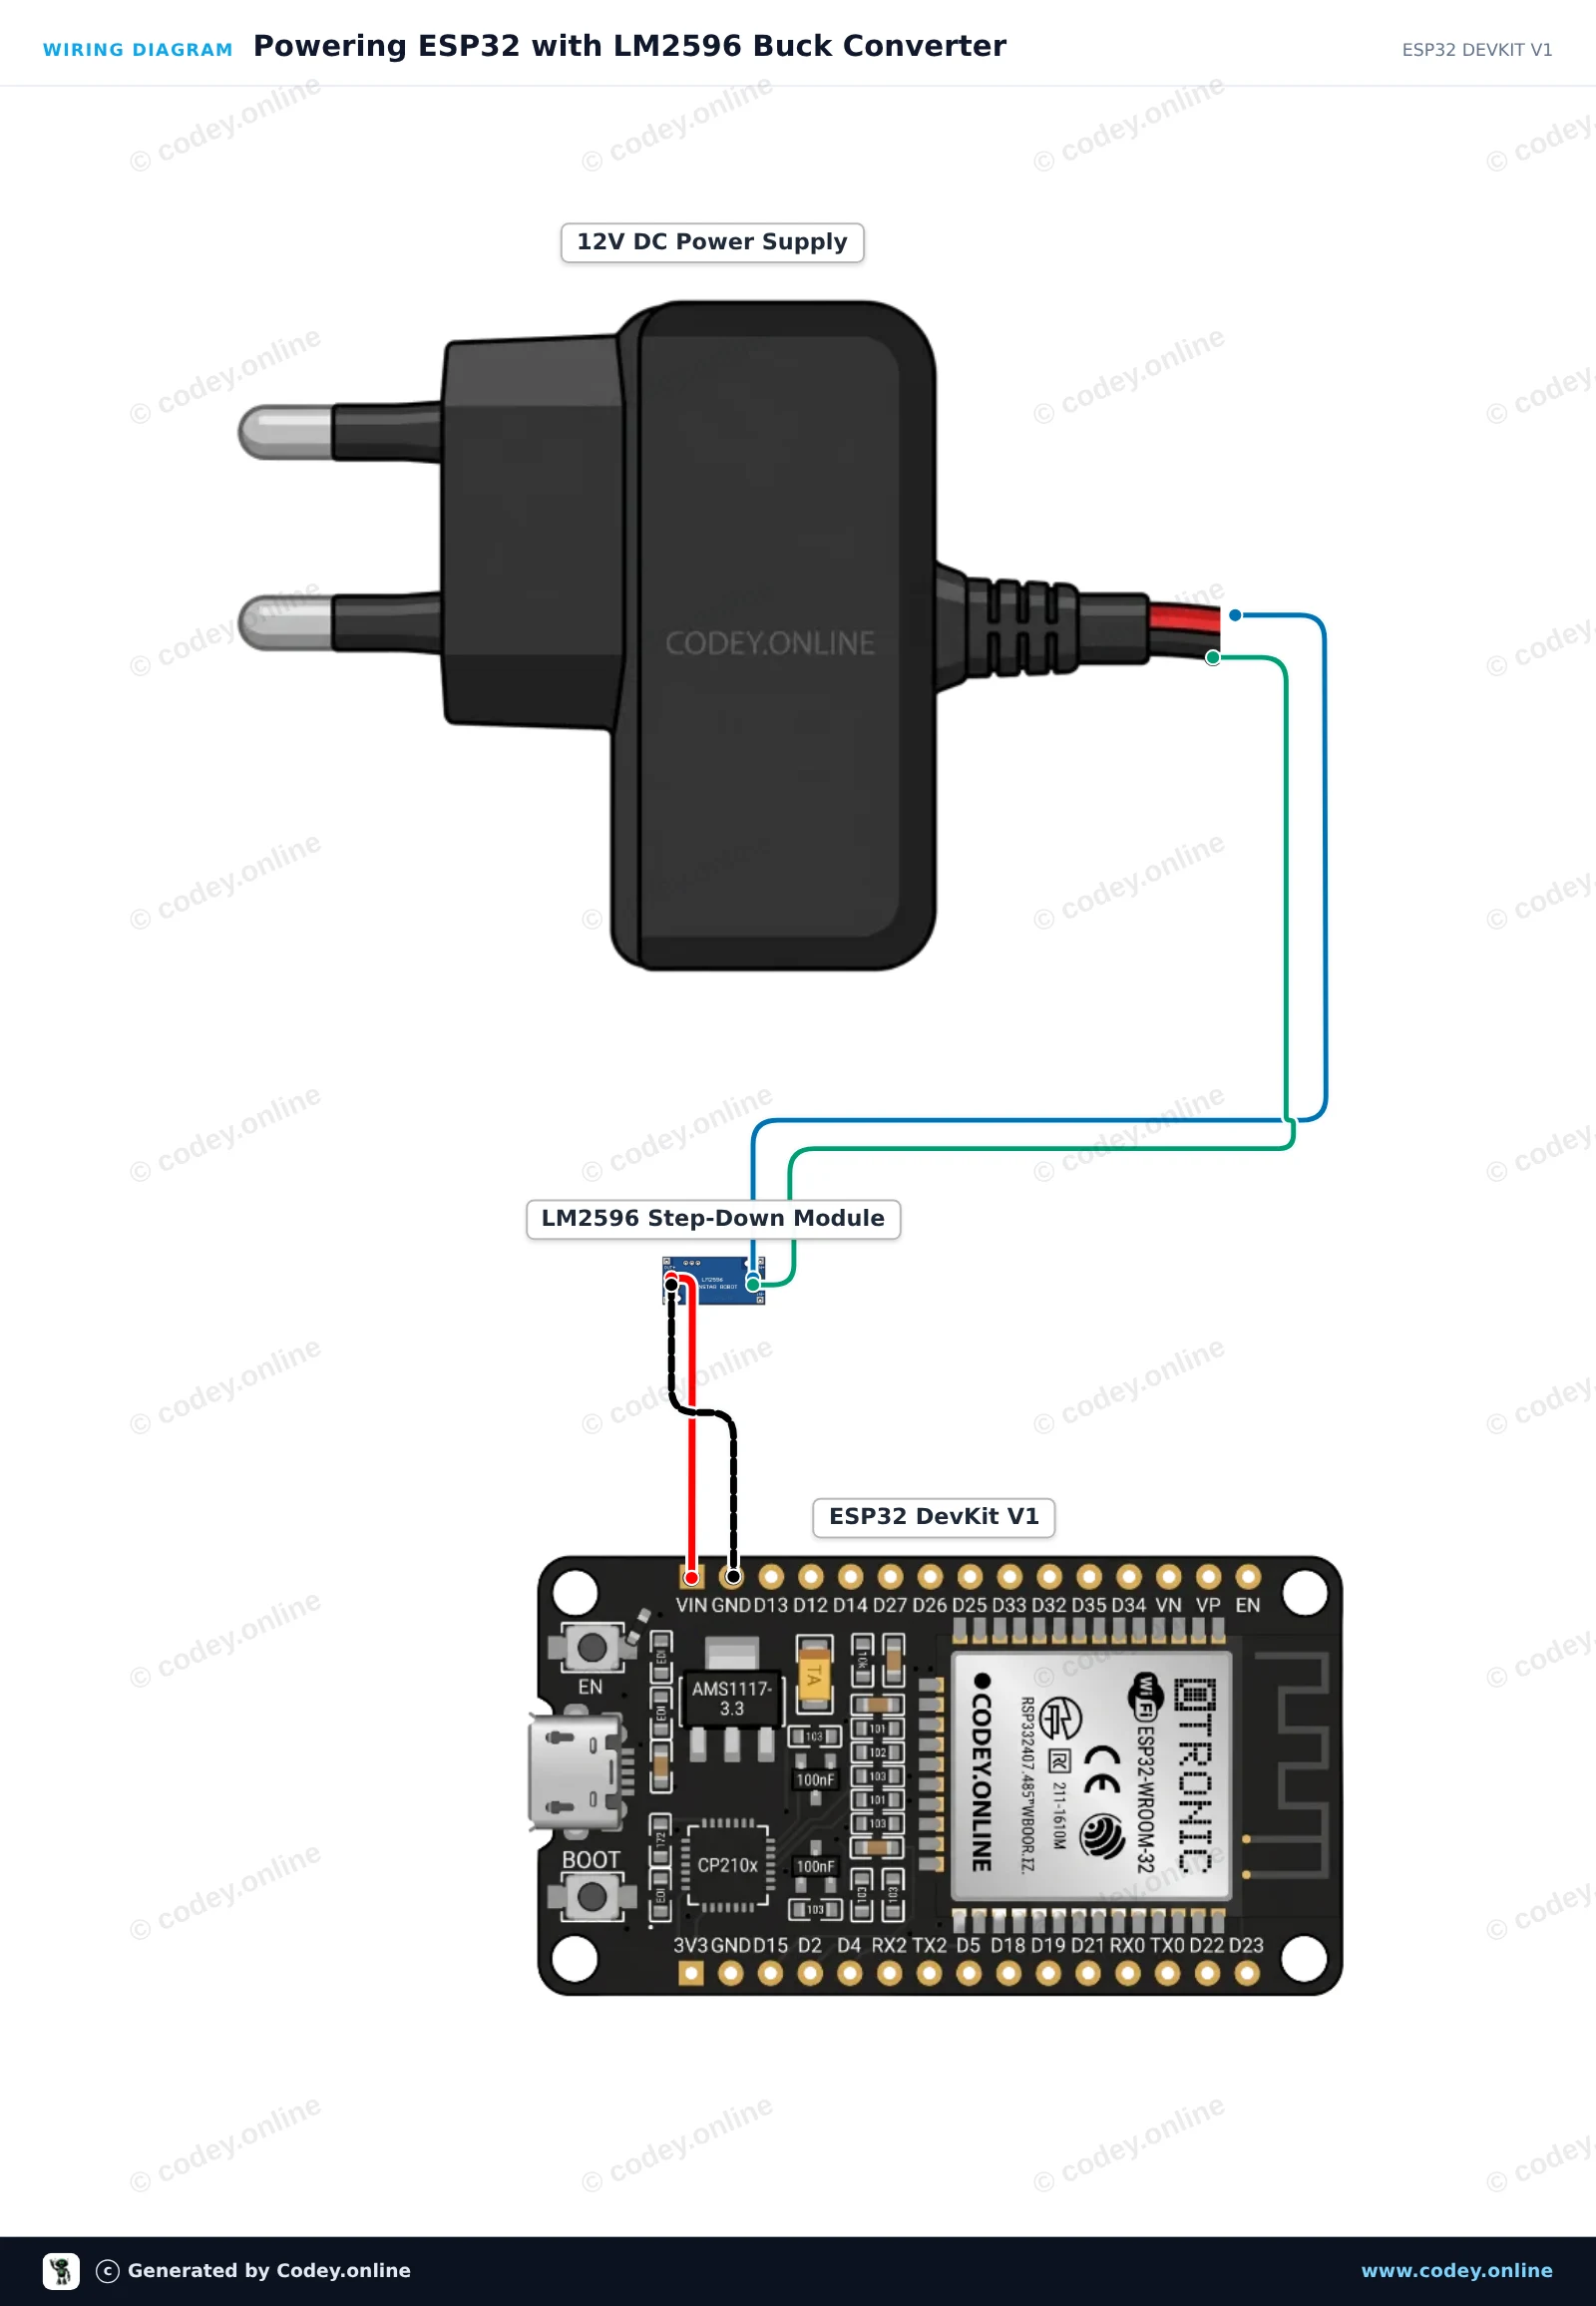
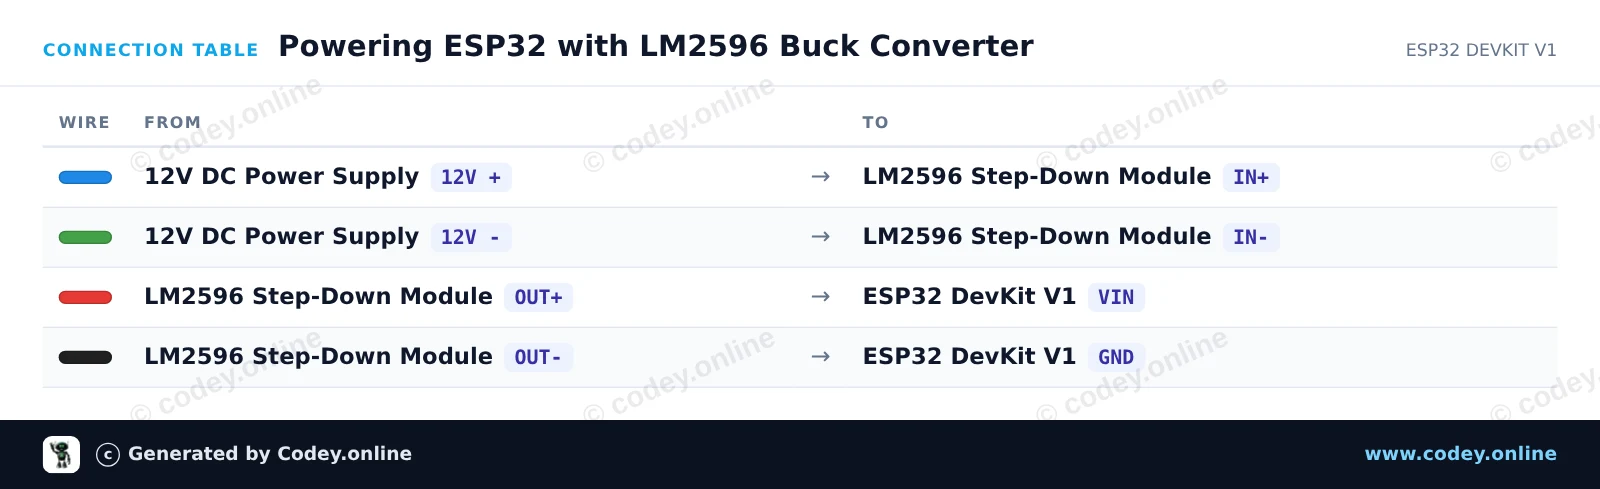
This circuit uses an LM2596 step-down module to regulate a 12V DC input down to a steady 5V for the ESP32's VIN pin. Before connecting the ESP32, adjust the onboard trimmer until the output voltage measures exactly 5.0V with a multimeter. Once connected, the ESP32 blinks its onboard LED and outputs a heartbeat message to the Serial Monitor.
/*
 * ==================================================================
 *  Generated by Codey.online  —  https://www.codey.online
 * ==================================================================
 *  Project   : Powering ESP32 with LM2596 Buck Converter
 *  Board     : ESP32 DEVKIT V1 (esp32:esp32:esp32doit-devkit-v1)
 *  Parts     : Adjustable Step-down Module 3-40VDC 1.5-35VDC LM2596
 *  Libraries : none (built-in)
 *
 *  Codey Online is an AI-powered browser IDE for Arduino and ESP32.
 *  Describe your project and Codey writes the code, draws the wiring
 *  diagram and uploads it to your board, straight from the browser.
 *  This code is free to use, modify and share, without warranty.
 * ==================================================================
 */

const int LED_PIN = 2;
unsigned long counter = 0;

void setup() {
  Serial.begin(115200);
  pinMode(LED_PIN, OUTPUT);

  Serial.println("LM2596 Step-Down Powered ESP32 Started!");
  Serial.println("Ensure LM2596 output was calibrated to 5.0V before connecting to VIN.");
}

void loop() {
  digitalWrite(LED_PIN, HIGH);
  delay(500);
  digitalWrite(LED_PIN, LOW);
  delay(500);

  counter++;
  Serial.print("ESP32 running stably on buck regulator. Heartbeat count: ");
  Serial.println(counter);
}Wiring diagram and example code generated by Codey.online — https://www.codey.online





 English
  Nederlands
  Frans
Frans  Deutsch
  Italiano
  Español
  Suomi
Suomi  Polski
  Dansk
Dansk  Ελληνικά
  Български
  Čeština
  Hrvatski
  Aileen