SKU: OT3643 Artikelnummer: AA185 EAN: 8720618489722

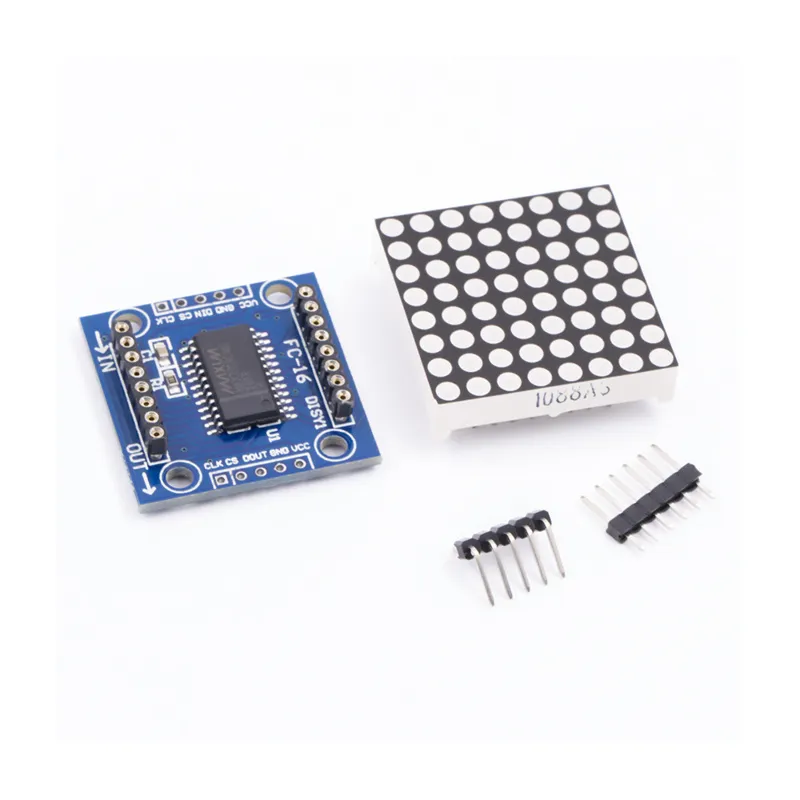
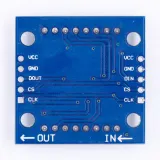
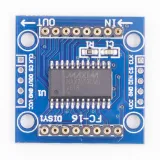
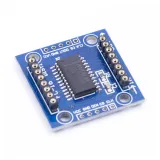
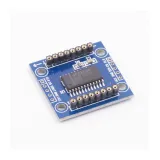
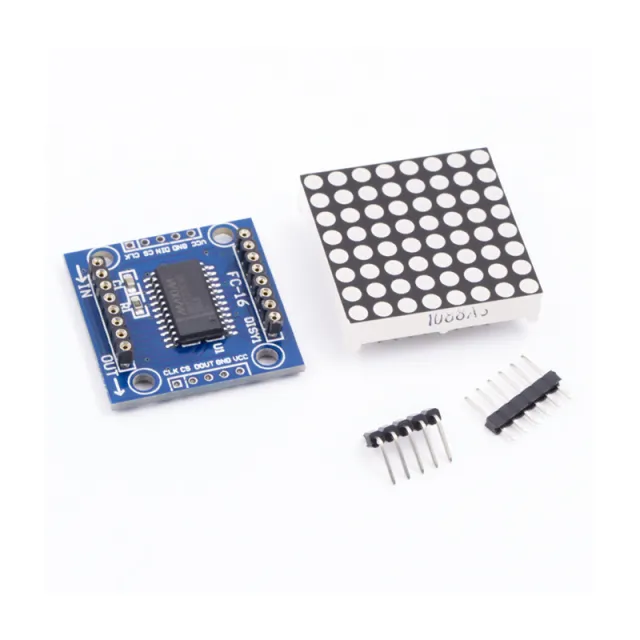
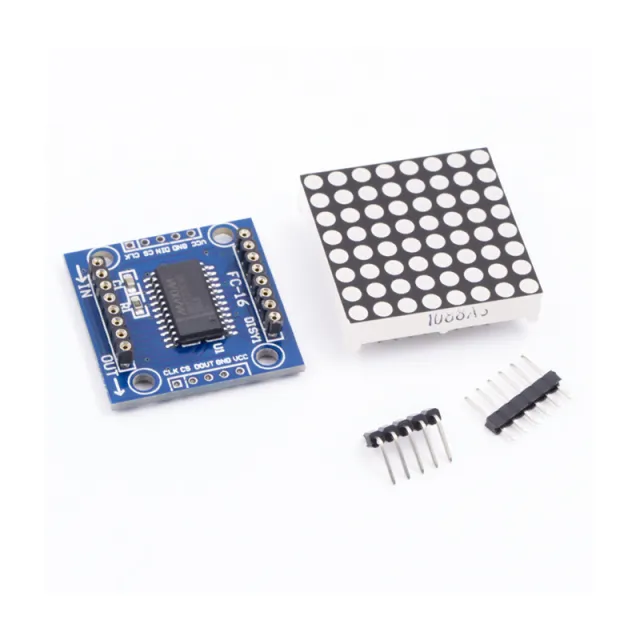
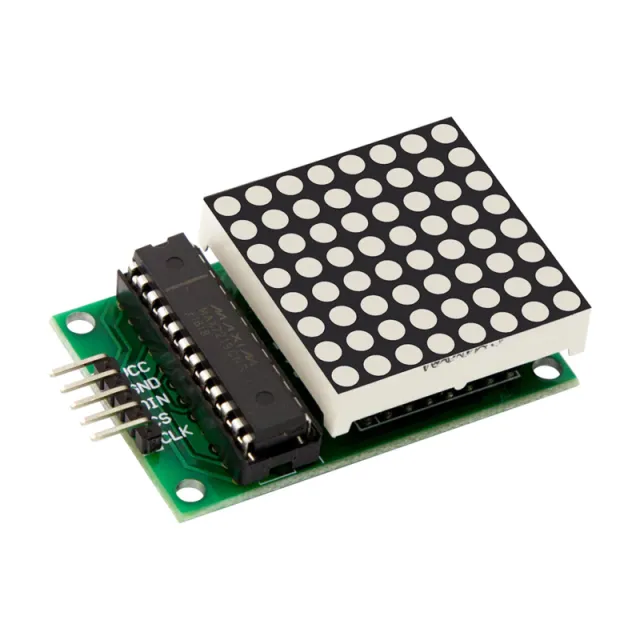
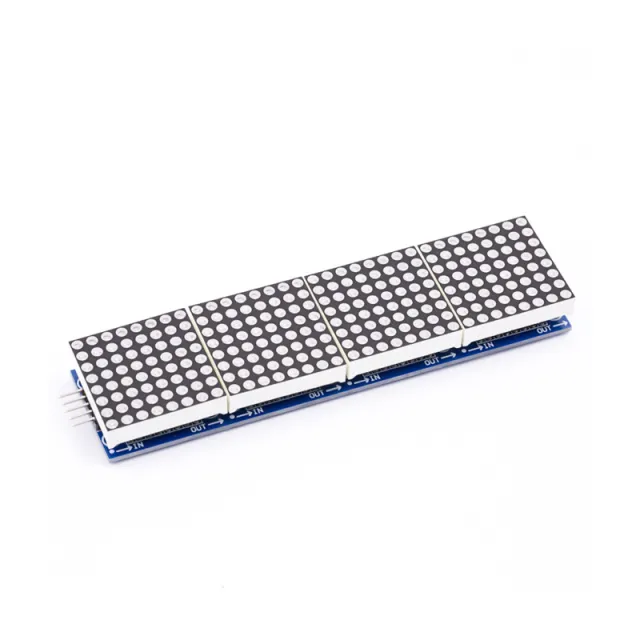
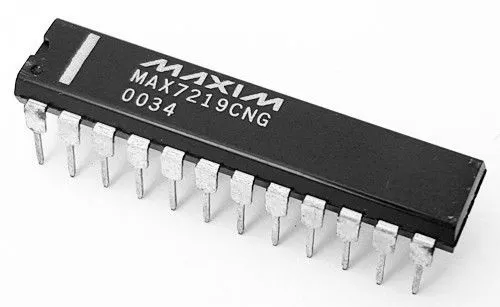
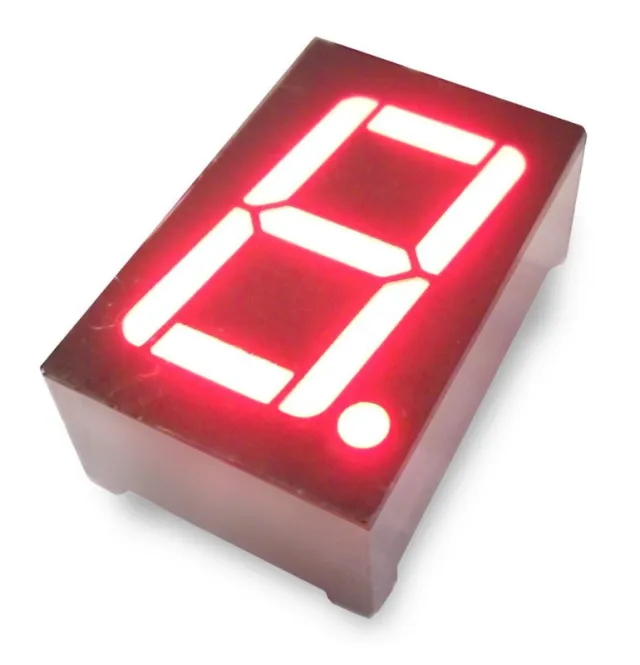
MAX7219 är ett IC som används för att styra LED-paneler med gemensam katod, 7-segmentsdisplayer och nivåindikatorer som kommunicerar via SPI-gränssnittet. Detta kort har en 8x8 dot matrix LED-display. Flera moduler kan kedjekopplas med hjälp av header-anslutningar.
Specifikationer:
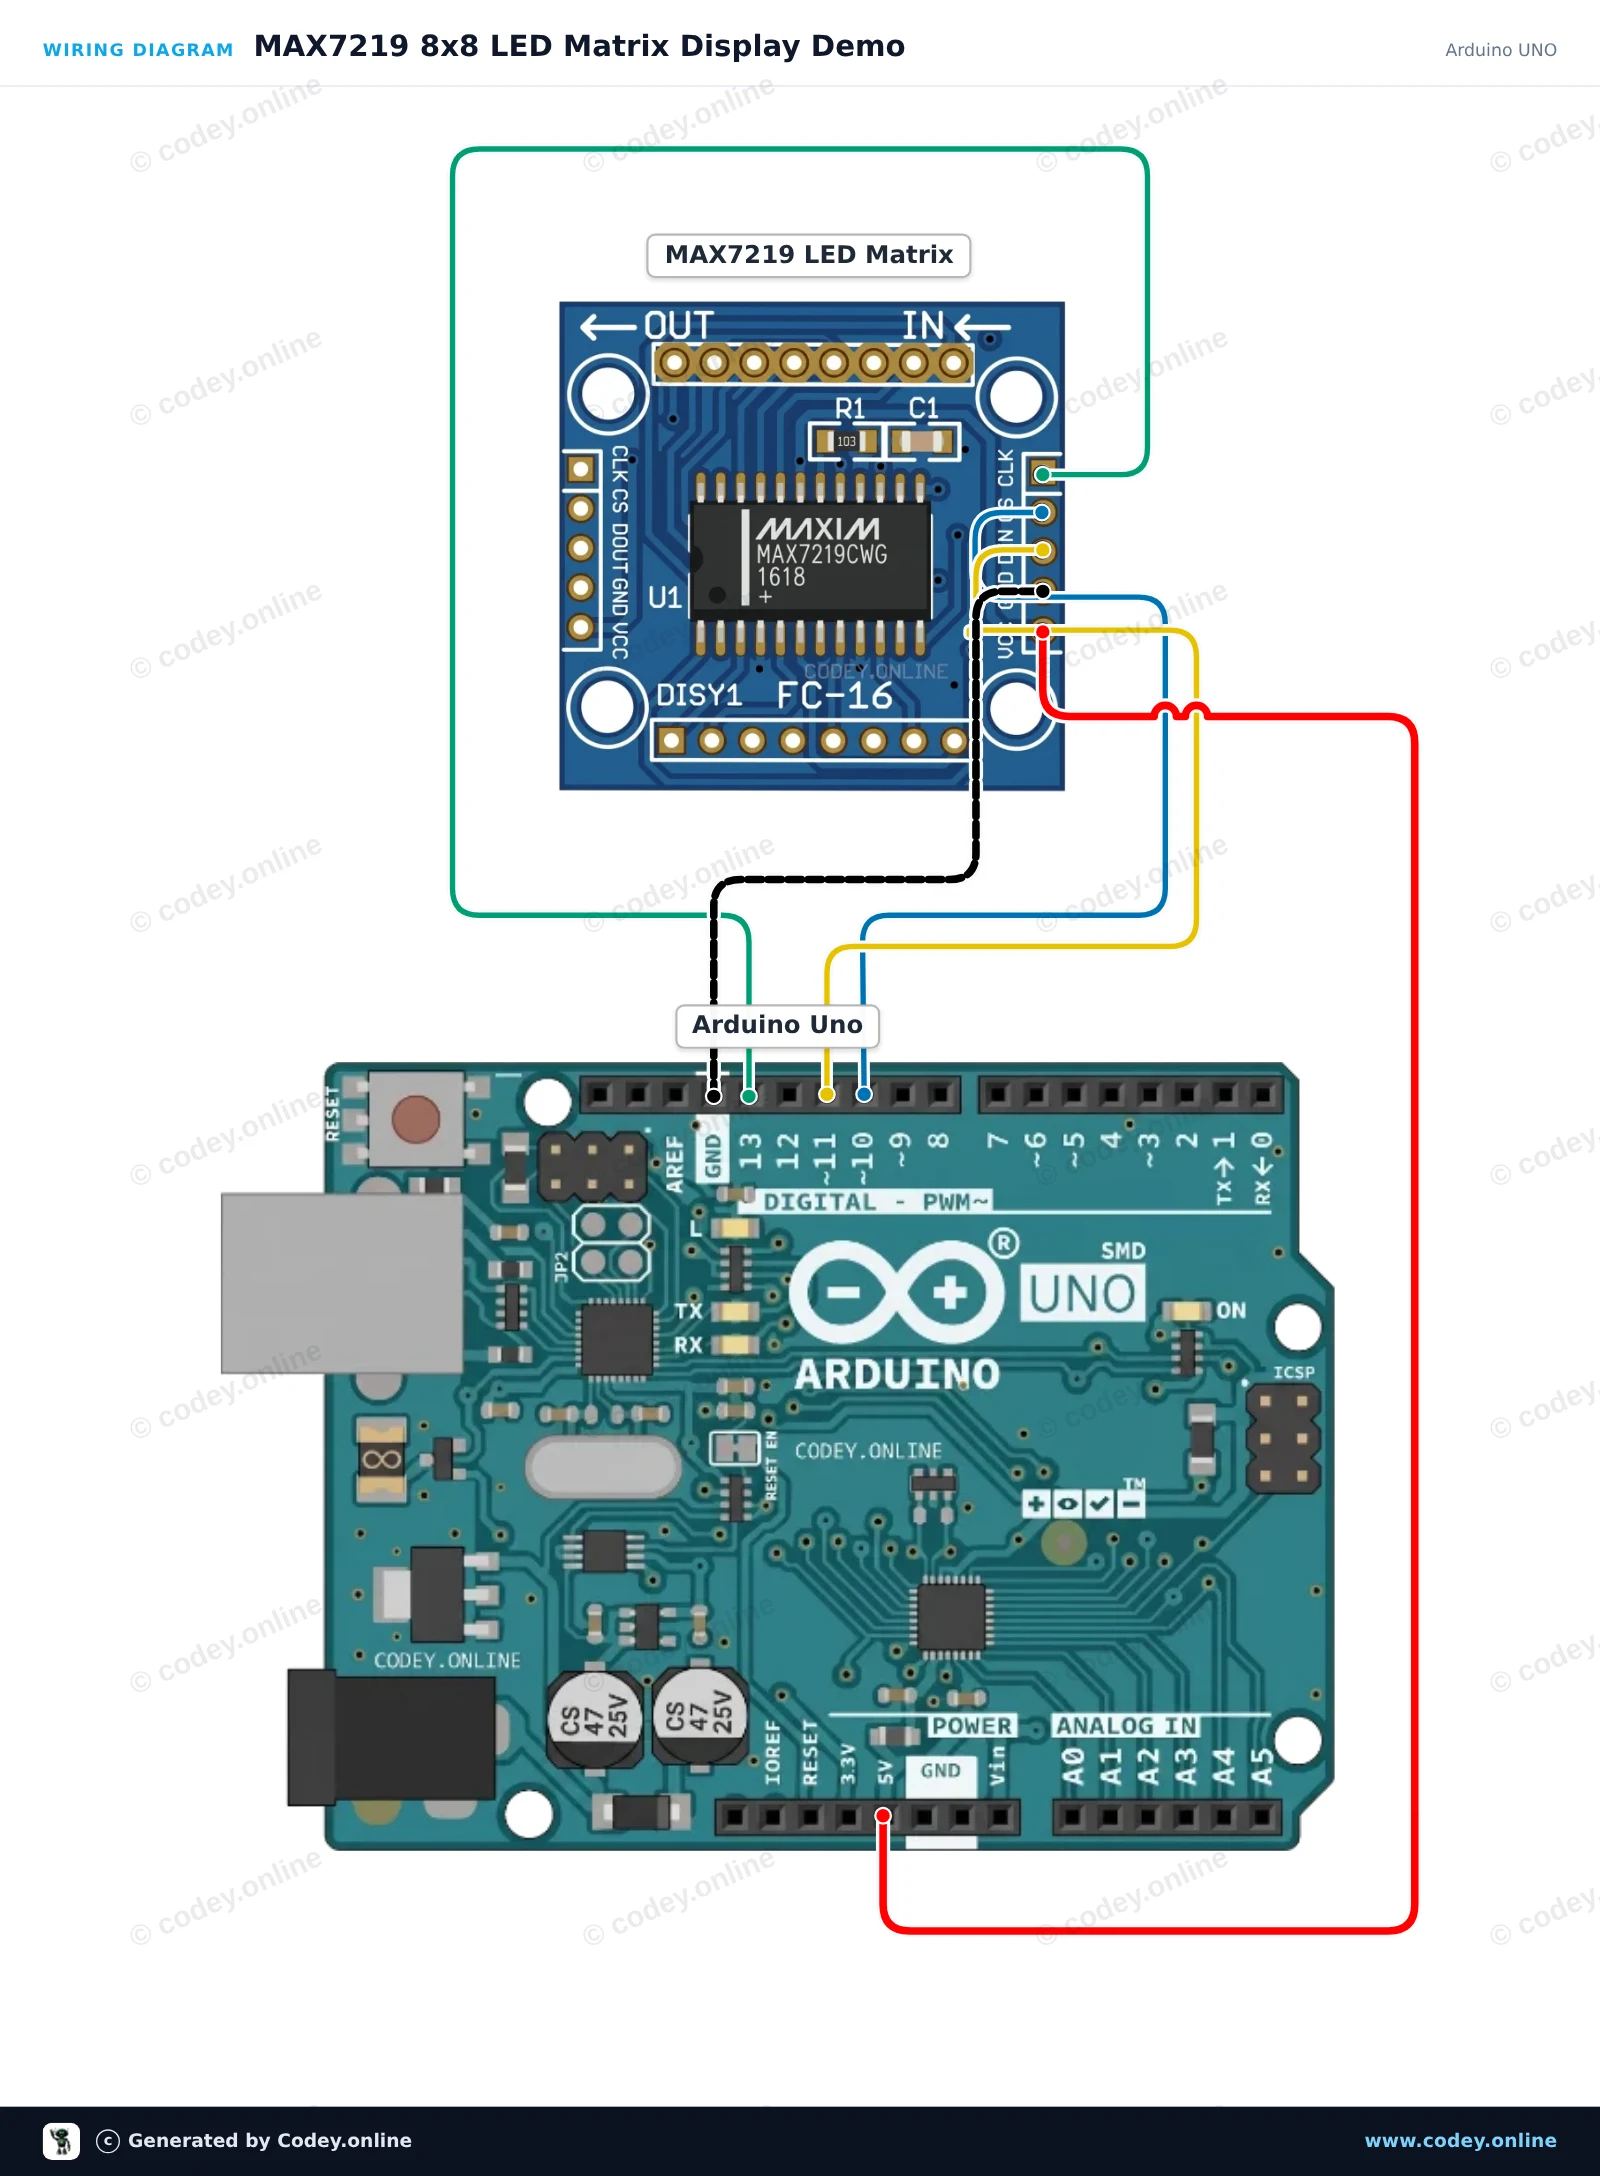
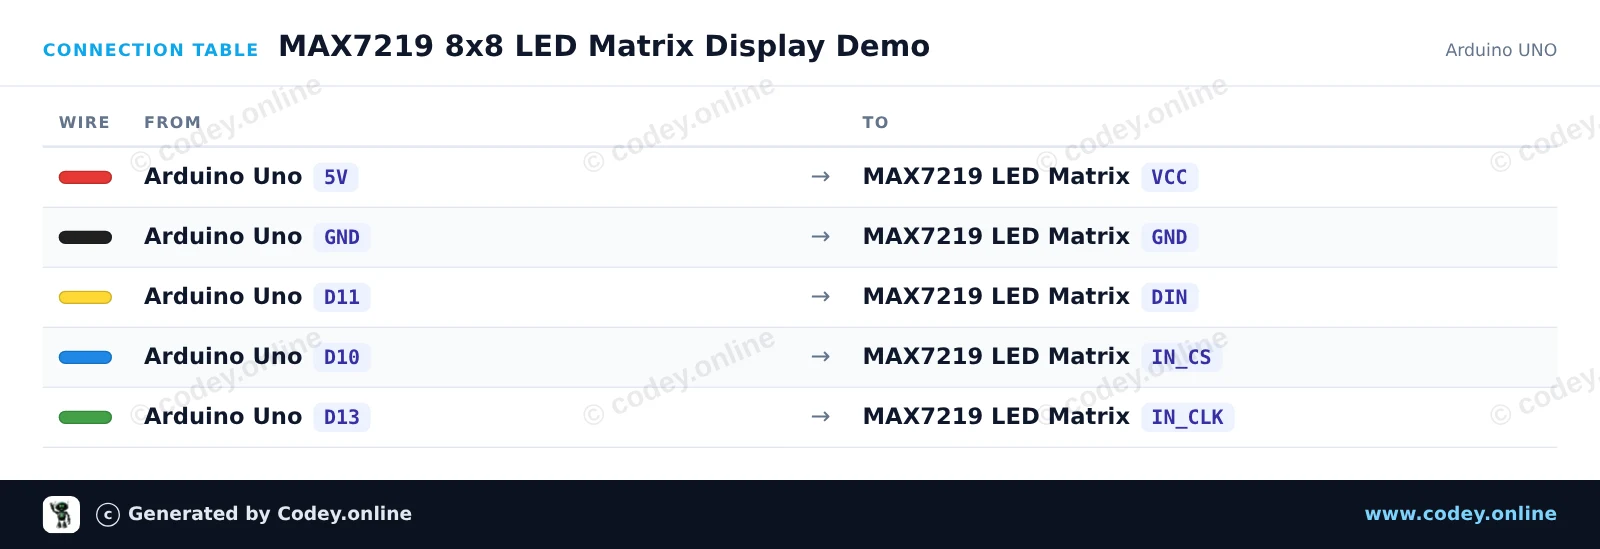
Så här kopplar du LED Matrix Module MAX7219 Röd till en Arduino UNO eller ESP32, med ett exempelsketch som du kan ladda upp direkt.
This project demonstrates how to control an 8x8 LED matrix using the MAX7219 driver chip. It initializes the display and cycles through displaying a smiley face, a heart icon, and a scanning pixel pattern.
/*
 * ==================================================================
 *  Generated by Codey.online  —  https://www.codey.online
 * ==================================================================
 *  Project   : MAX7219 8x8 LED Matrix Display Demo
 *  Board     : Arduino UNO (arduino:avr:uno)
 *  Parts     : LED Matrix Module MAX7219
 *  Libraries : LedControl 1.0.6
 *
 *  Codey Online is an AI-powered browser IDE for Arduino and ESP32.
 *  Describe your project and Codey writes the code, draws the wiring
 *  diagram and uploads it to your board, straight from the browser.
 *  This code is free to use, modify and share, without warranty.
 * ==================================================================
 */

#include <LedControl.h>

const int DIN_PIN = 11;
const int CS_PIN  = 10;
const int CLK_PIN = 13;

LedControl lc = LedControl(DIN_PIN, CLK_PIN, CS_PIN, 1);

// 8x8 bitmap patterns
const byte SMILEY[8] = {
  0b00111100,
  0b01000010,
  0b10100101,
  0b10000001,
  0b10100101,
  0b10011001,
  0b01000010,
  0b00111100
};

const byte HEART[8] = {
  0b00000000,
  0b01100110,
  0b11111111,
  0b11111111,
  0b01111110,
  0b00111100,
  0b00011000,
  0b00000000
};

void drawPattern(const byte pattern[8]) {
  for (int row = 0; row < 8; row++) {
    lc.setRow(0, row, pattern[row]);
  }
}

void setup() {
  Serial.begin(115200);
  Serial.println(F("MAX7219 LED Matrix Demo"));

  lc.shutdown(0, false);  // Wake up display
  lc.setIntensity(0, 5);  // Brightness (0-15)
  lc.clearDisplay(0);
}

void loop() {
  // Show smiley face
  drawPattern(SMILEY);
  delay(2000);

  // Show heart
  drawPattern(HEART);
  delay(2000);

  // Clear display
  lc.clearDisplay(0);
  delay(500);

  // Scan a single pixel across all rows and columns
  for (int row = 0; row < 8; row++) {
    for (int col = 0; col < 8; col++) {
      lc.setLed(0, row, col, true);
      delay(30);
      lc.setLed(0, row, col, false);
    }
  }
  delay(500);
}Nödvändiga bibliotek: LedControl 1.0.6
Wiring diagram and example code generated by Codey.online — https://www.codey.online
This project demonstrates driving an 8x8 MAX7219 LED matrix display using the ESP32 hardware SPI interface. The sketch initializes the display registers and alternates between showing a heart icon and a smiley face.
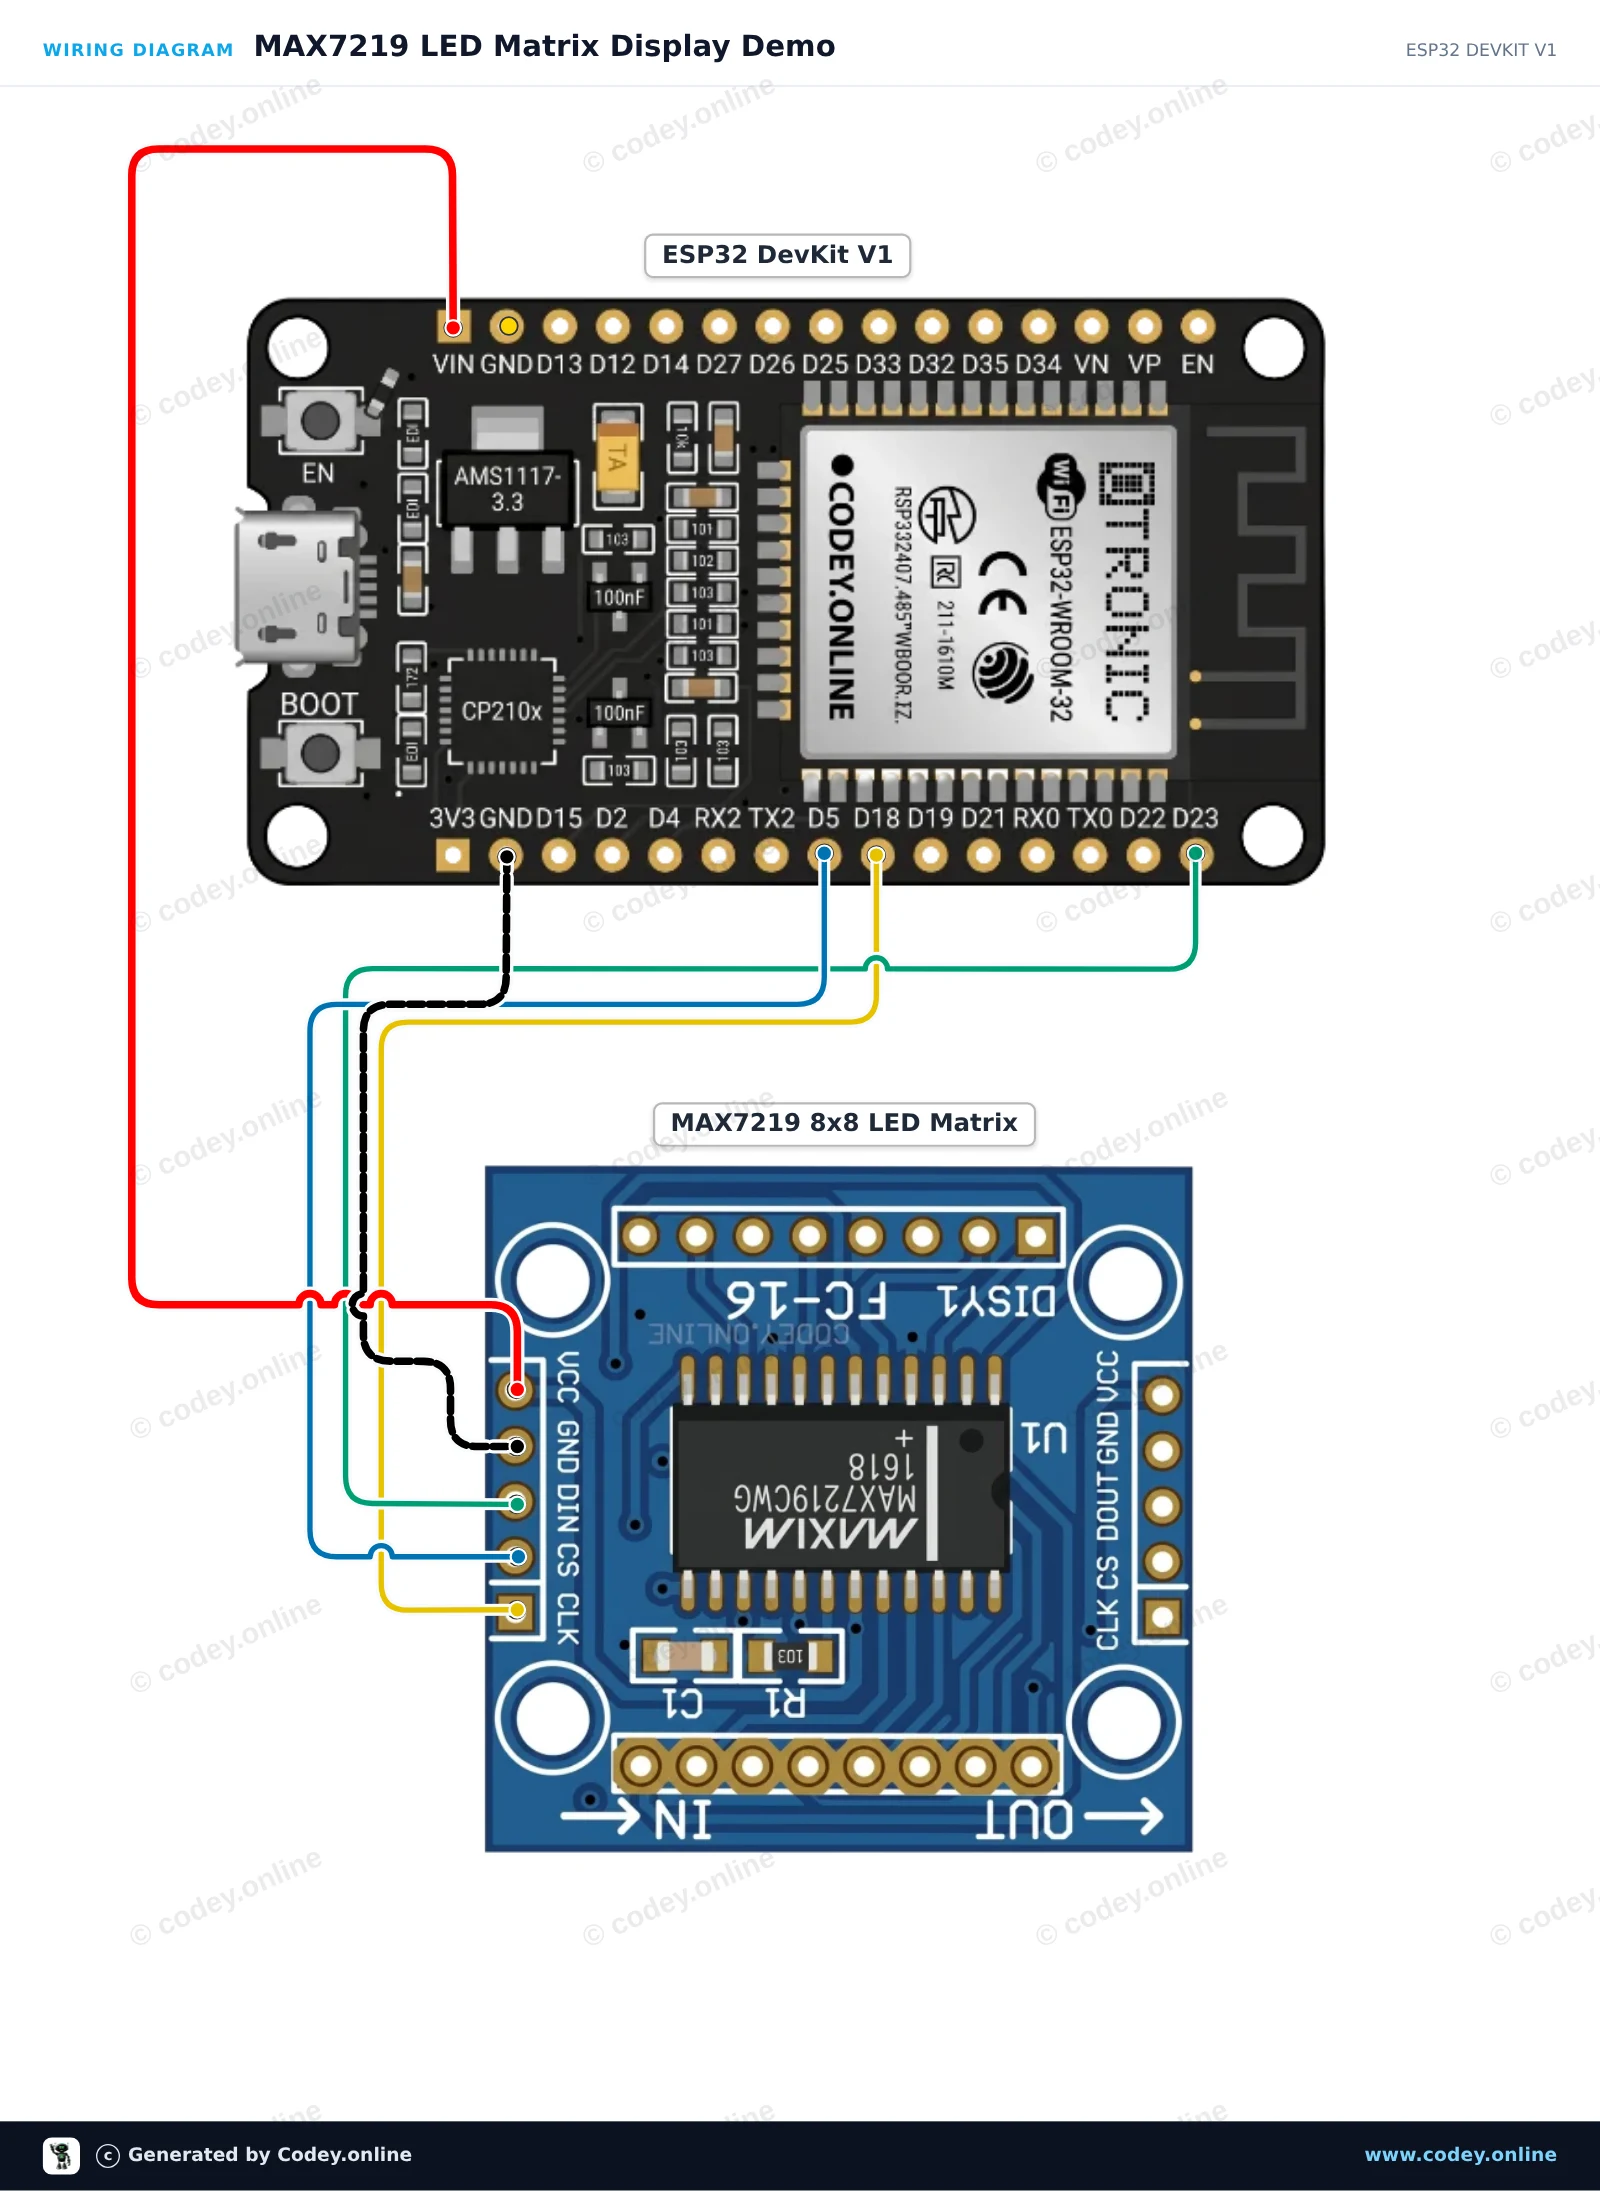
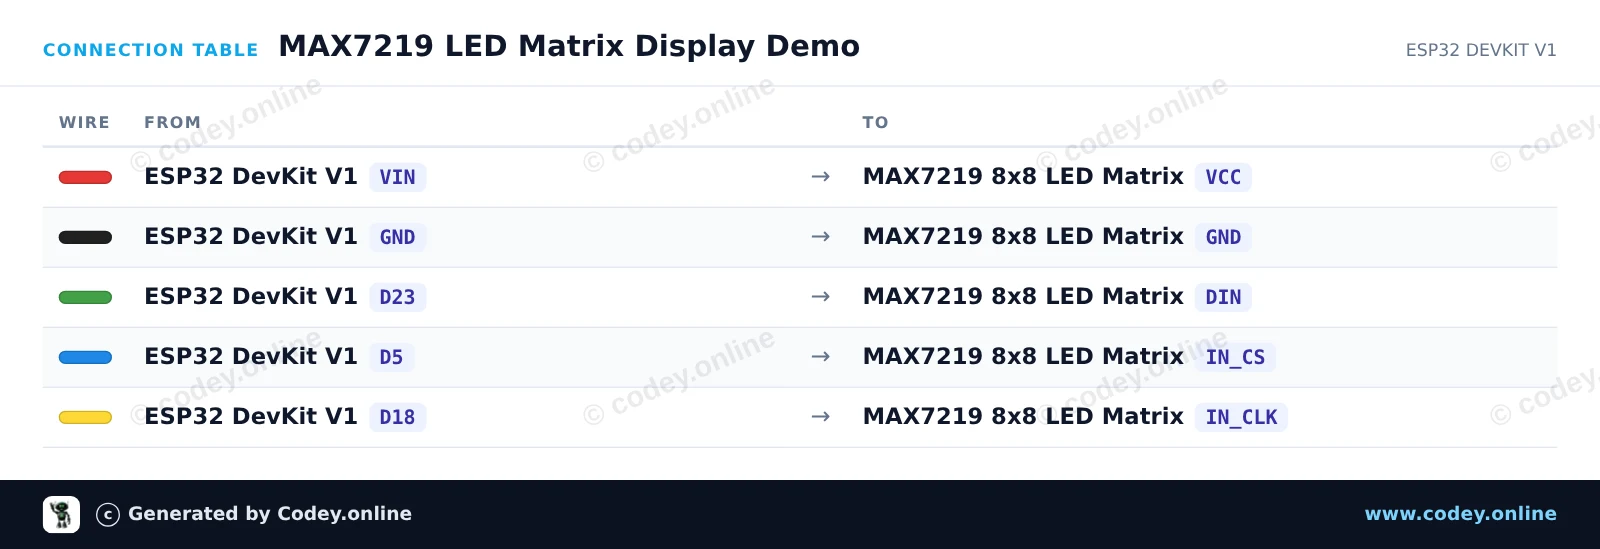
/*
 * ==================================================================
 *  Generated by Codey.online  —  https://www.codey.online
 * ==================================================================
 *  Project   : MAX7219 LED Matrix Display Demo
 *  Board     : ESP32 DEVKIT V1 (esp32:esp32:esp32doit-devkit-v1)
 *  Parts     : LED Matrix Module MAX7219
 *  Libraries : none (built-in)
 *
 *  Codey Online is an AI-powered browser IDE for Arduino and ESP32.
 *  Describe your project and Codey writes the code, draws the wiring
 *  diagram and uploads it to your board, straight from the browser.
 *  This code is free to use, modify and share, without warranty.
 * ==================================================================
 */

#include <SPI.h>

const int PIN_CS = 5;

// MAX7219 register addresses
const byte REG_NOOP        = 0x00;
const byte REG_DIGIT0      = 0x01;
const byte REG_DECODEMODE  = 0x09;
const byte REG_INTENSITY   = 0x0A;
const byte REG_SCANLIMIT   = 0x0B;
const byte REG_SHUTDOWN    = 0x0C;
const byte REG_DISPLAYTEST = 0x0F;

const byte heart[8] = {
  0b00000000,
  0b01100110,
  0b11111111,
  0b11111111,
  0b11111111,
  0b01111110,
  0b00111100,
  0b00011000
};

const byte smile[8] = {
  0b00111100,
  0b01000010,
  0b10100101,
  0b10000001,
  0b10100101,
  0b10011001,
  0b01000010,
  0b00111100
};

void writeRegister(byte reg, byte data) {
  digitalWrite(PIN_CS, LOW);
  SPI.transfer(reg);
  SPI.transfer(data);
  digitalWrite(PIN_CS, HIGH);
}

void showBitmap(const byte bitmap[8]) {
  for (byte i = 0; i < 8; i++) {
    writeRegister(REG_DIGIT0 + i, bitmap[i]);
  }
}

void setup() {
  Serial.begin(115200);
  Serial.println("MAX7219 LED Matrix Demo Started");

  pinMode(PIN_CS, OUTPUT);
  digitalWrite(PIN_CS, HIGH);

  SPI.begin();

  writeRegister(REG_DISPLAYTEST, 0x00); // Normal operation
  writeRegister(REG_SCANLIMIT, 0x07);   // Display all 8 rows
  writeRegister(REG_DECODEMODE, 0x00);  // No BCD decoding (raw matrix)
  writeRegister(REG_INTENSITY, 0x04);   // Brightness (0x00 to 0x0F)
  writeRegister(REG_SHUTDOWN, 0x01);    // Wake up from shutdown
}

void loop() {
  showBitmap(heart);
  delay(1000);

  showBitmap(smile);
  delay(1000);
}Wiring diagram and example code generated by Codey.online — https://www.codey.online






 English
  Nederlands
  Frans
Frans  Deutsch
  Italiano
  Español
  Suomi
Suomi  Polski
  Dansk
Dansk  Ελληνικά
  Български
  Čeština
  Hrvatski
  Aileen